Digitizing Affect: Visualizing a Shaman’s Curing Ceremony
Figures
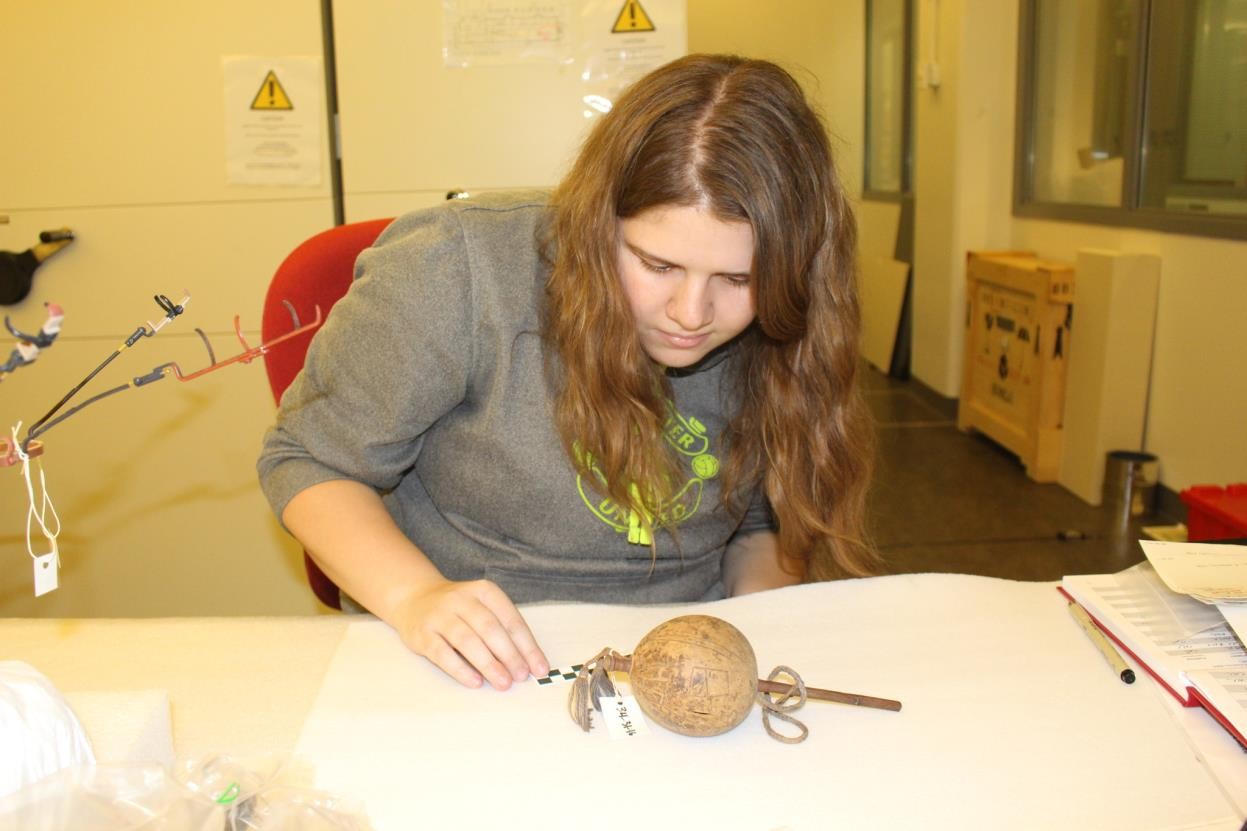
Figure 1: Examining a Yaruro rattle from Apure, Venezuela in the Penn Museum (Object No. 34-31-18).
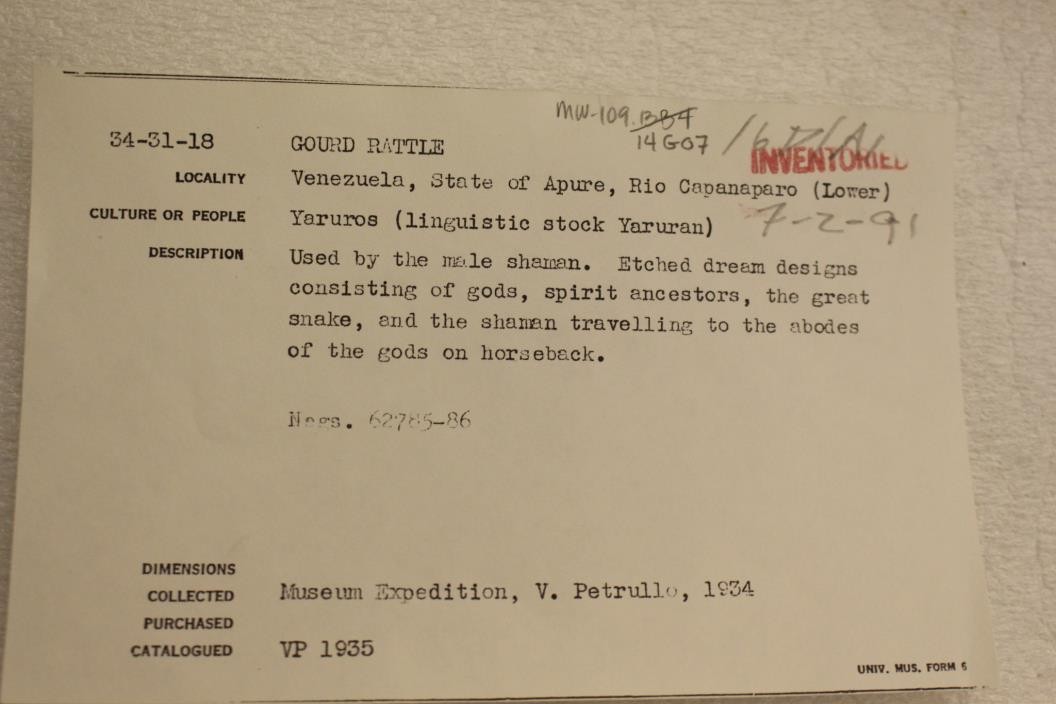
Figure 2: Registrar’s Card for a rattle chosen for modelling (Object no. 34-31-18).
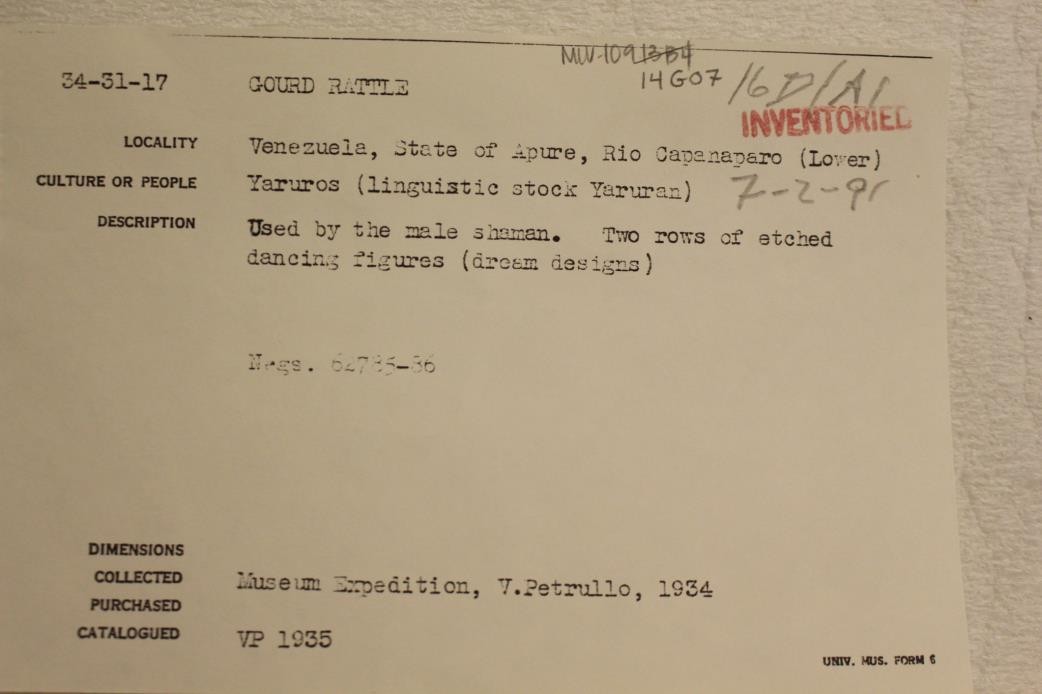
Figure 3: Registrar’s Card for a rattle chosen for modelling (Object no. 34-31-17).
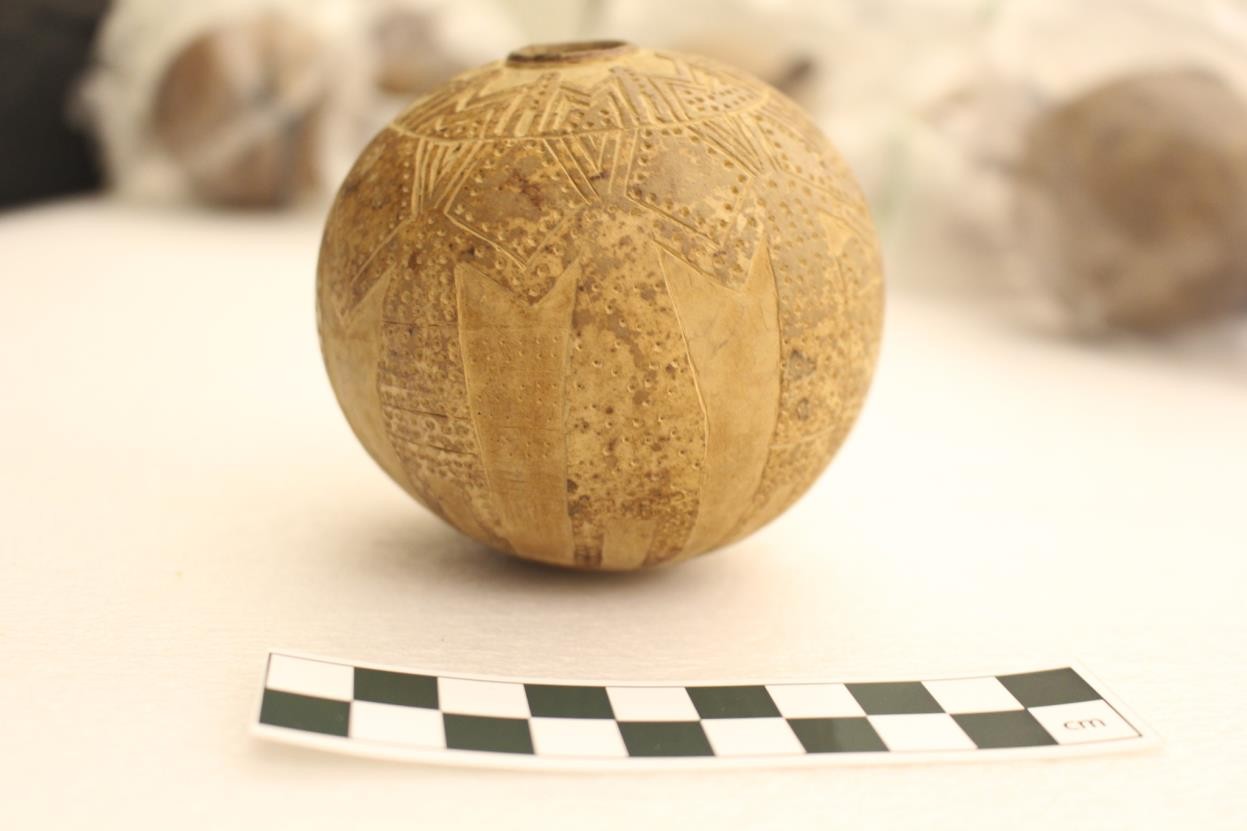
Figure 4: Side-view of rattle chosen for modelling (Object no. 34-31-17).

Figure 5: Bottom view of one of the rattles chosen for modelling (Object no. 34-31-17).
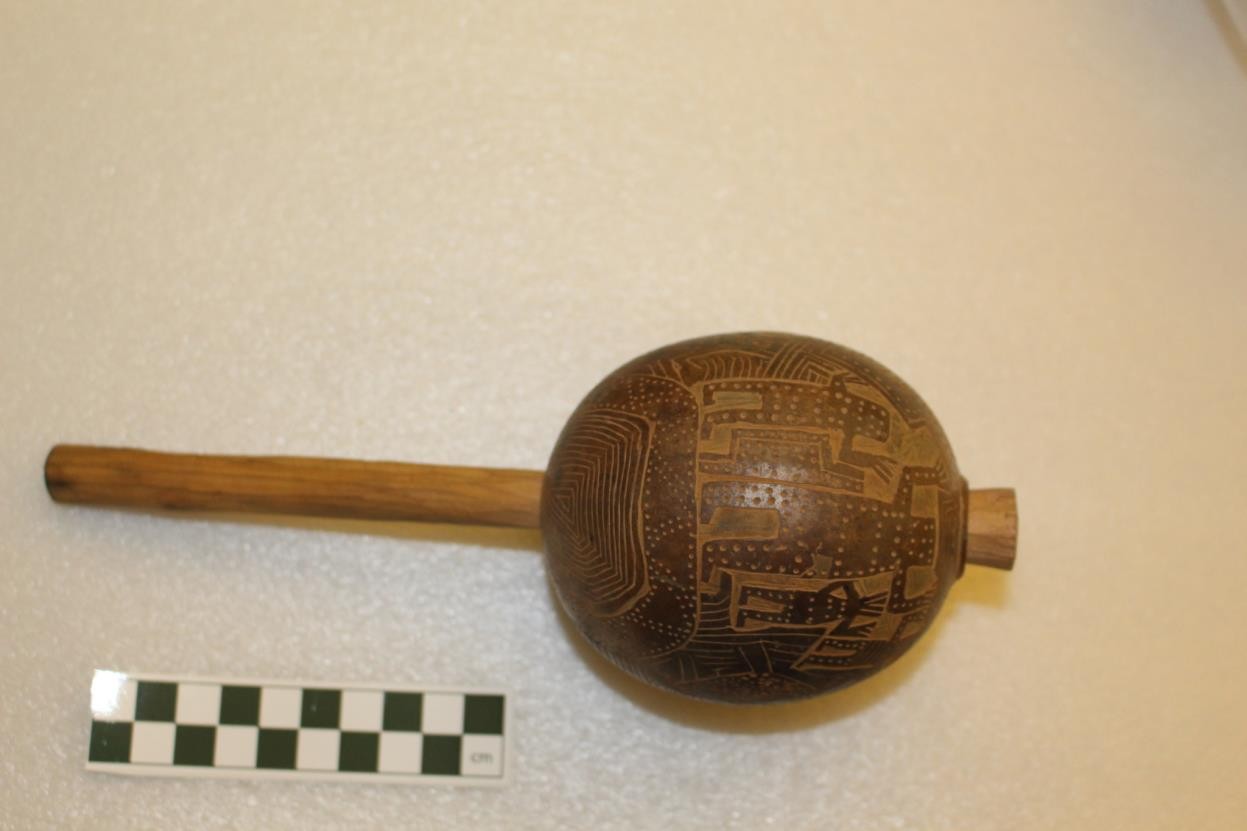
Figure 6: Bottom view of one of the rattles chosen for modelling (Object no. 34-31-18).
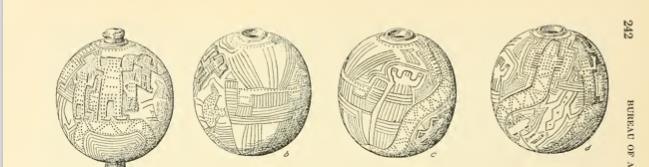
Figure 7: Sketches of the darker rattle (34-31-18 (Petrullo 1934: Figure 27)
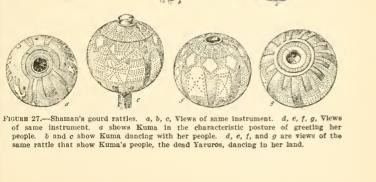
Figure 8: Sketches of the lighter rattle (34-31-17) (Petrullo 1934: Figure 27).
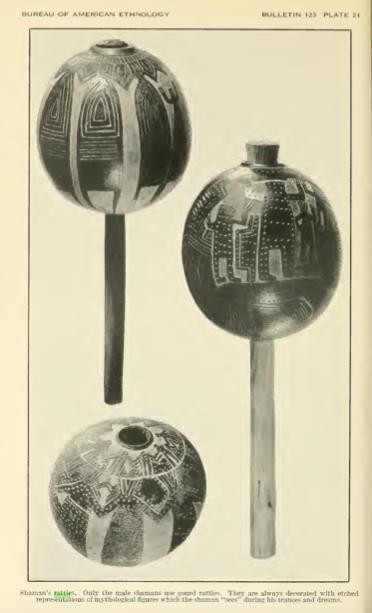
Figure 9: Photograph of both rattles (Petrullo 1934: Figure 28).
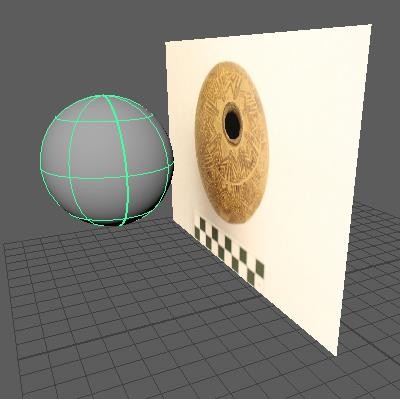
Figure 10: Beginning of modelling: the free-image plane and polygon sphere (later scaled).

Figure 11: Image used to texture the handle after inserting and scaling the cylinder.
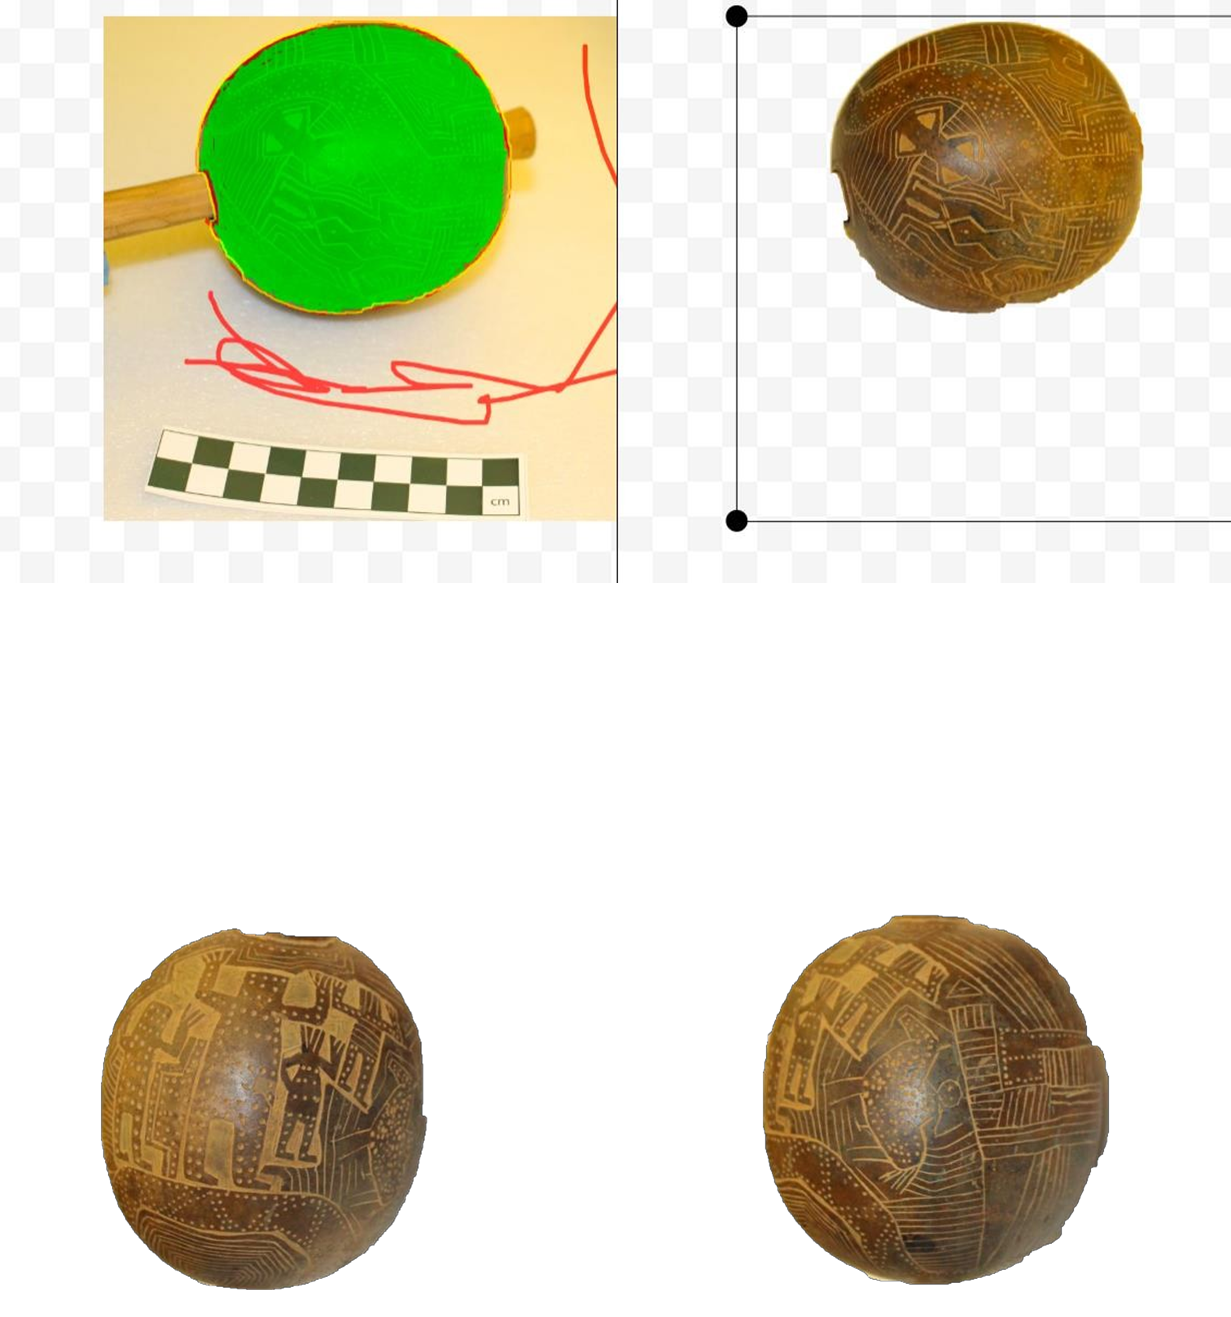
Figure 12: Part of approach one: Using photo scissors online to remove background from photos to be inserted into Hugin. Two faces shown have clear overlapping points the program could not recognize properly.
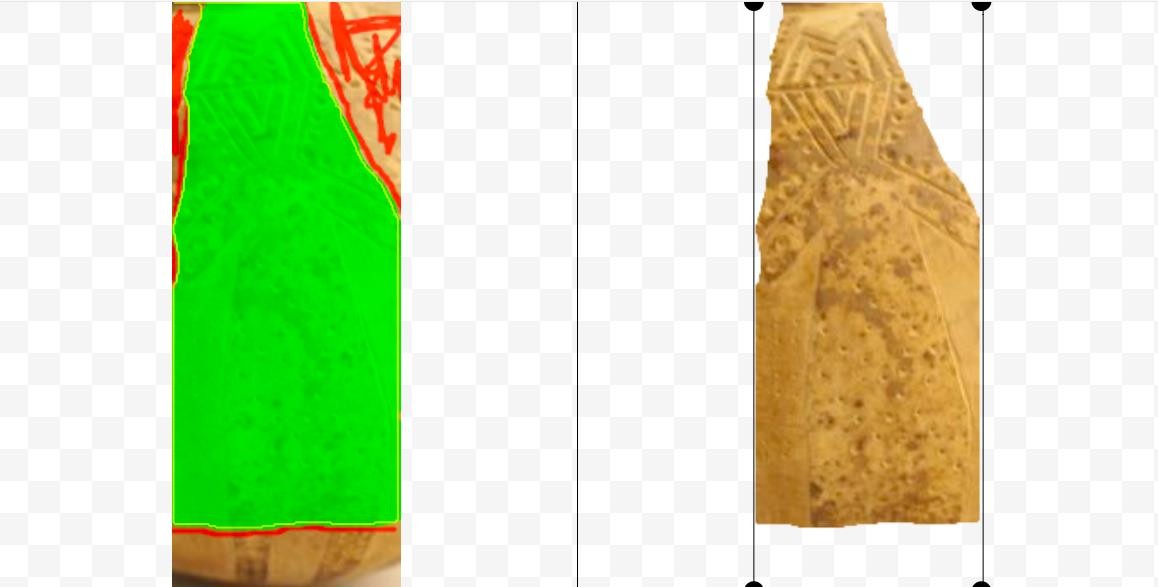
Figure 13: Part of approach two: Using online photo scissors to remove background from screenshots. Pieces later assembled in Word.
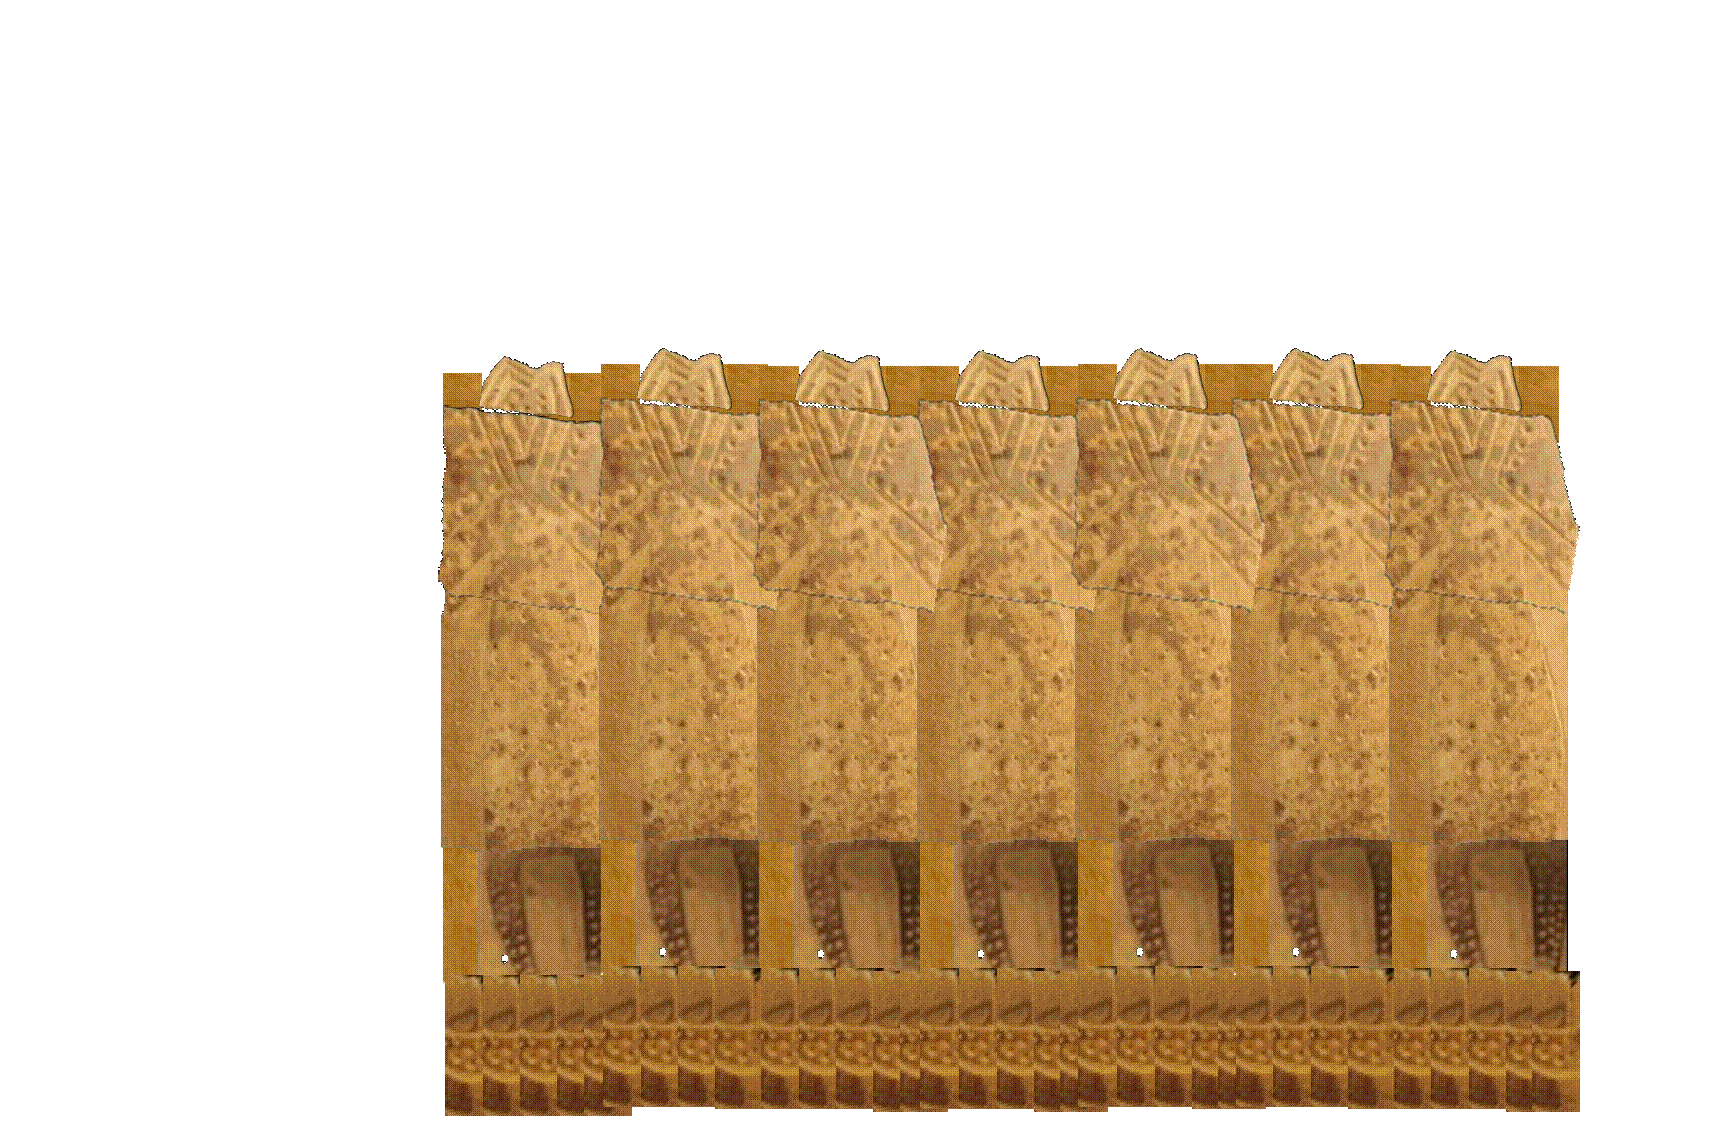
Figure 14: Part of approach two: Copy and pasting the figures together and grouping them to create a texture in Word.
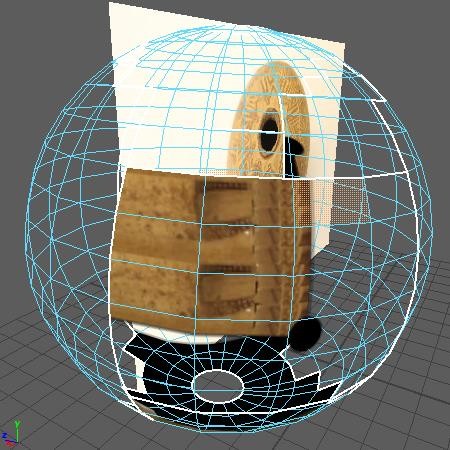
Figure 15: Part of approach two: texture becoming warped in UV (before learning to manipulate the UV shell).
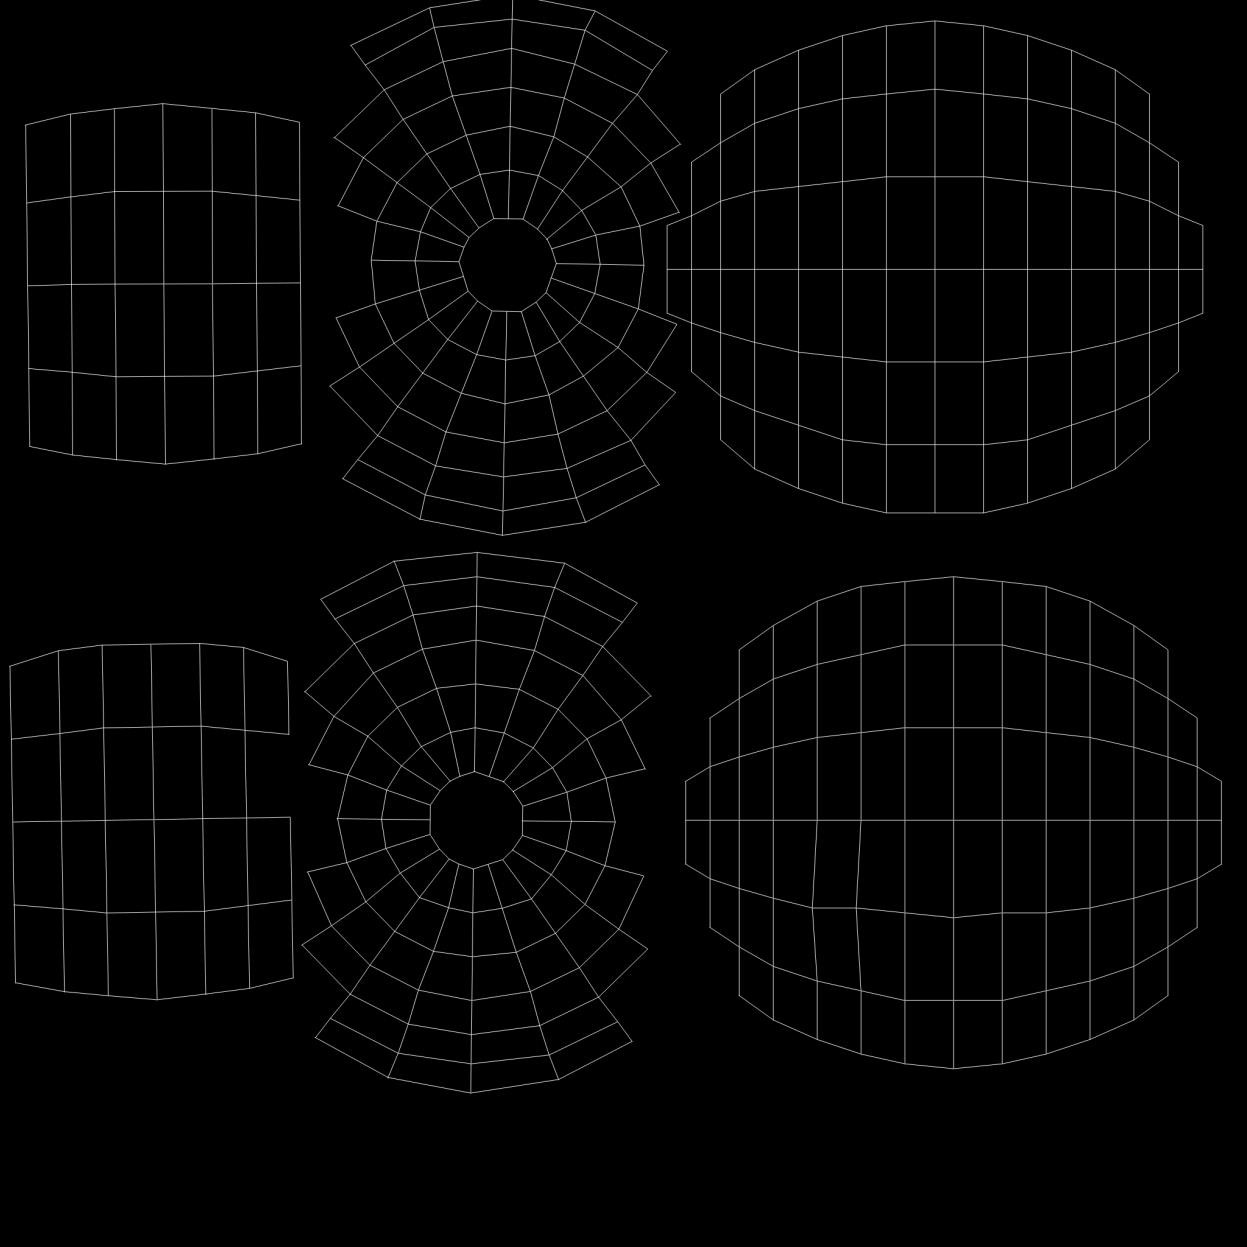
Figure 16: Part of approach three: printing out the unwrapped spherical UV shell (later inverted to black and white using online program), cut out and drawn on.
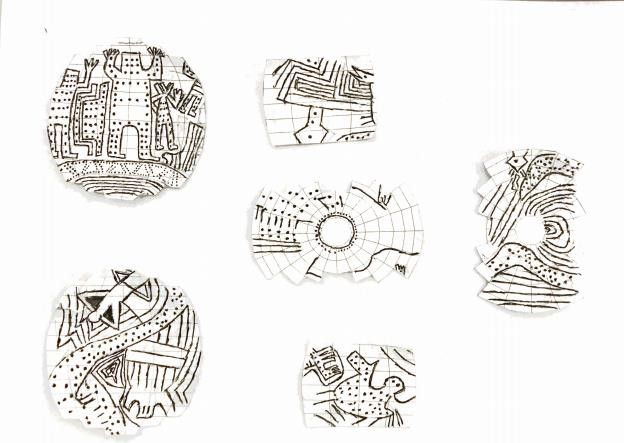
Figure 17: Part of approach three: Scanned version of the drawn-on UV map.
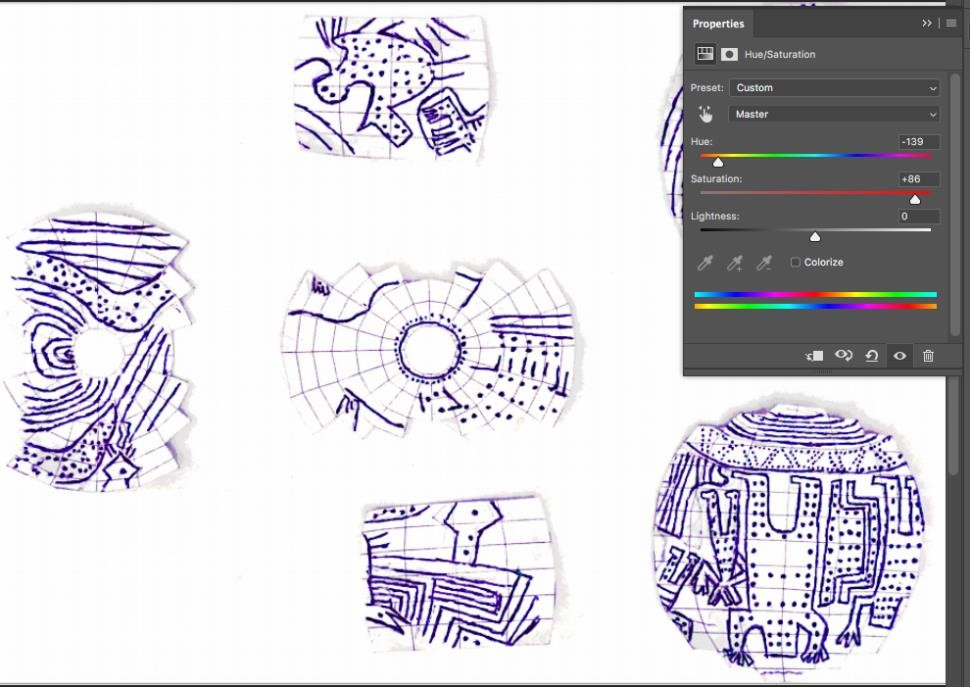
Figure 18: Part of approach three: creating new layer and changing hue of details in Photoshop. White background later removed using Magic Wand Tool.

Figure 19: Part of approach three: final Photoshopped version.
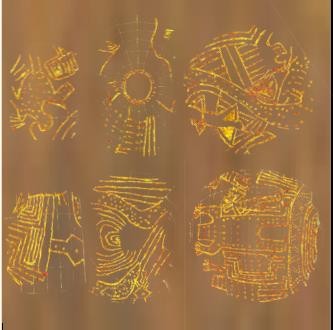
Figure 20: Part of approach three: layering details onto texture in word to create cohesive image. (UV map was layered on top to scale the details to the right size).
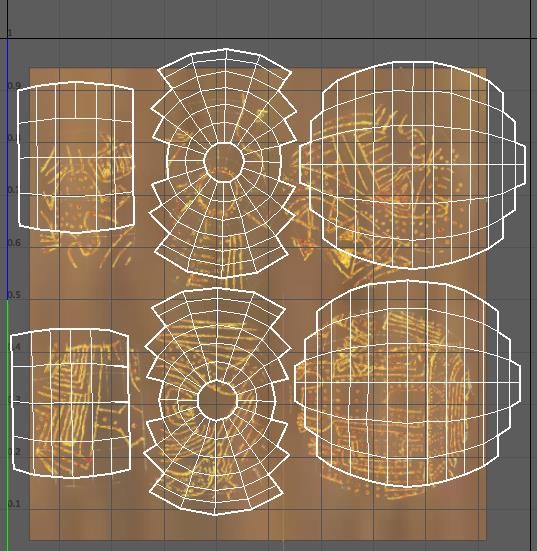
Figure 21: Part of approach three: despite scaling in word, the images were slightly small, out of order, etc. UV shell manipulated to fit.
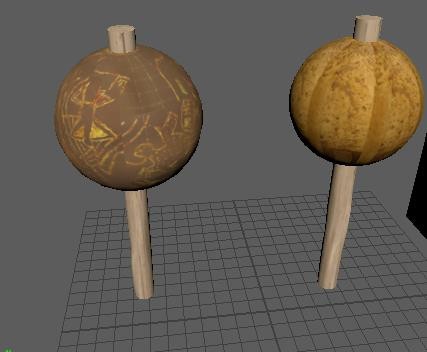
Figure 22: View of both rattles.