Decorating the Body: Hair, Piercings, and Body Art in the Amazon
Figures

Figure 1. Native women and girls from Matto Grasso, Brazil with long hair and bangs (Petrullo 1932: Plate XIV).

Figure 2. Native men from Matto Grasso, Brazil with short hair evenly cut around the head (Petrullo 1932: Plate XVI).
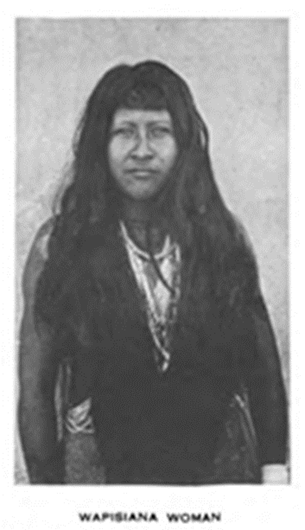
Figure 3. Wapisiana woman with long hair (Farabee 1918: Plate VIII).

Figure 4. four native adults and a child in Bolivia with various hair styles (Mercado 1859: Plate 66).
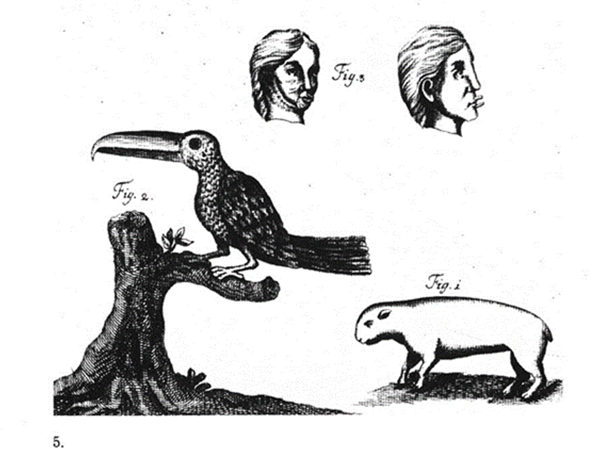
Figure 5. Drawing of a native man wearing labrets in the upper and lower lip, a bird with a long beak, and another animal (Eder 1985: Plate 5).

Figure 6. Three Taruma men wearing labrets in their lower lips (Farabee 1918: Plate XVI).
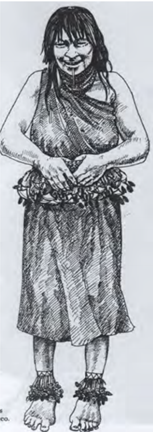
Figure 7. Shuar woman with a labret (Bianchi 1981:182).
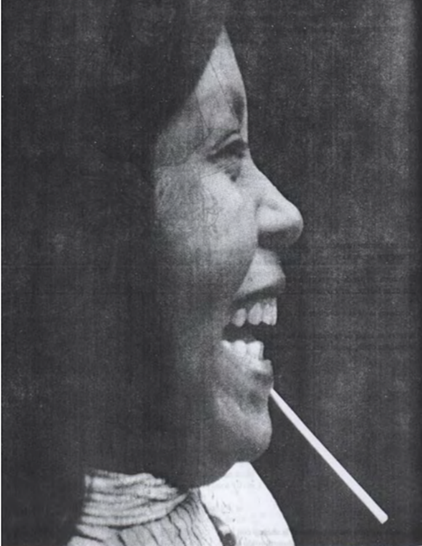
Figure 8. Photographgraph of a Shuar woman with a stick like piercing in her lower lip (Bianchi 1981:183).
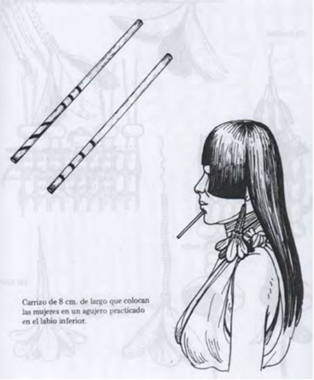
Figure 9. Drawing of Shuar lip piercings and a person wearing them and long earrings with feathers (Bianchi 1981:225).

Figure 10. Native Brazilian men and boys wearing metal nose rings hitting their upper lips (Politis 2002).

Figure 11. Wapisiana girl with a solid metal disc piercing in her nose (Farabee 1918: Plate VIII).

Figure 12. Three native Bolivians wearing beaded earrings and red urucú body paint (Mercado 1759: Plate 49).

Figure 13. Drawing of an ear piercing from the Yuracare tribe (Métraux 1943: Figure 65).

Figure 14. Wapisiana leg ornaments collected by William Farabee decorated with beads and feathers (Object no. SA 247; Photographgraphs taken at Penn Museum).

Figure 15. Drawing of a Shuar man piercing his ear lobe with a thin stick (Bianchi 1981:190).

Figure 16. Drawing of a Shuar ear piercing decorated with yellow and red feathers and a Shuar man wearing face paint and the earrings (Bianchi 1981:215).

Figure 17. Diagram of Wapisiana and Ataroi jewelry and piercings (Farabee 1918: XXXII).

Figure 18. A photographgraph of the pieces depicted in Figure 16 (Farabee 1918, XXXII).

Figure 19. Recent photographgraphs of Ataroi ear pieces collected by William Farabee between 1913 and 1916 (Object no SA 303; Photographgraphs taken at Penn Museum).

Figure 20. Indigenous Venezuelan person with geometric face paint (Carneiro 1988).

Figure 21. Indigenous Venezuelans with patterned body paint, probably urucú (Carneiro 1988).

Figure 22. Illustrations of pottery from the Llanos de Mojos of Bolivia with geometric designs similar to those painted on the body (Denevan 1966: Plates 4 and 5).
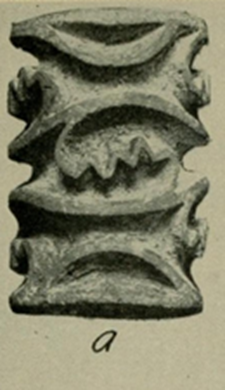
Figure 23. A Quimbaya ceramic cylindrical roller stamp (Steward 1949: Plate 37).

Figure 24. Yuracare stamps used to create designs on the body or bark cloth (Métraux 1943: Figure 66).
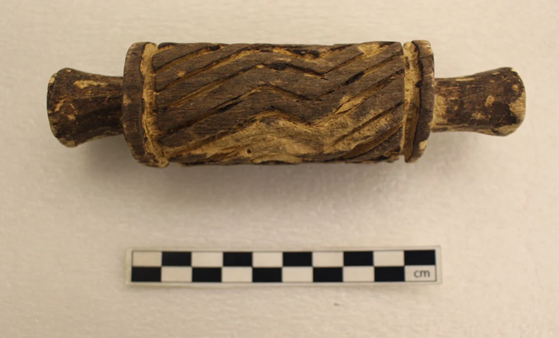
Figure 25. Wooden cylindrical stamp from the Ataroi used to create painted patterns on skin or textiles (Object no. SA 302; Photograph taken at Penn Museum)
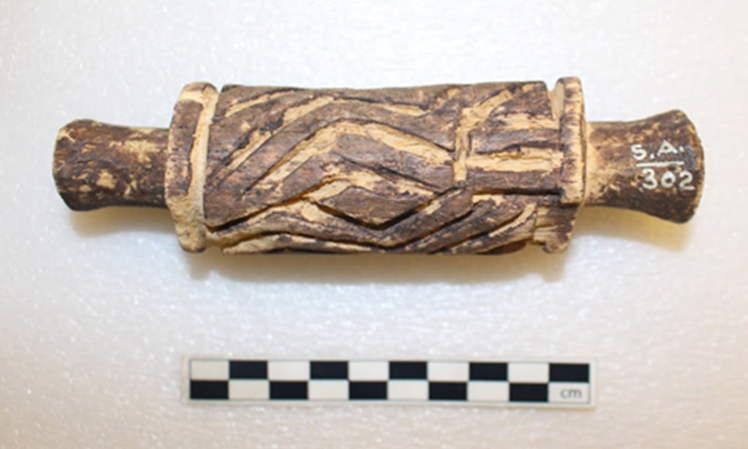
Figure 26. Wooden cylindrical stamp from the Ataroi (Object no. SA 302; Photograph taken at Penn Museum).
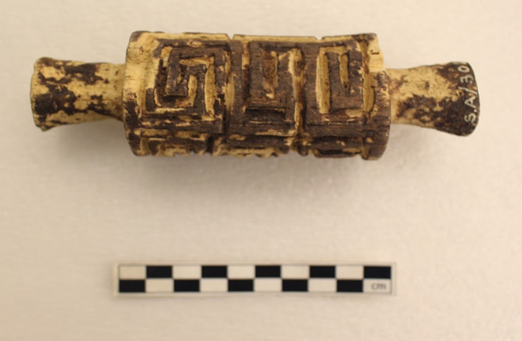
Figure 27. Wooden cylindrical stamp from the Ataroi (Object no. SA 302; Photograph taken at Penn Museum).
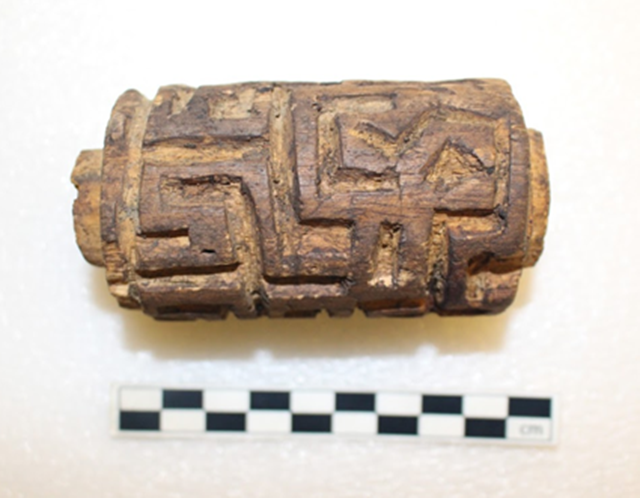
Figure 28. Wooden cylindrical stamp from the Ataroi (Object no. SA 302; Photograph taken at Penn Museum).
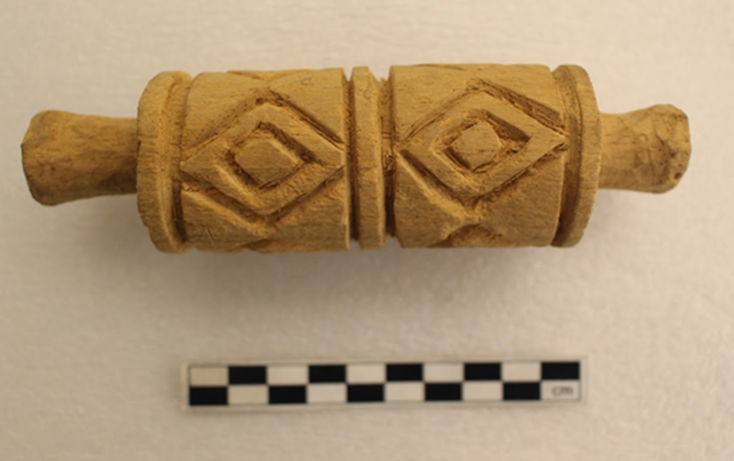
Figure 29. Unused wooden cylindrical stamp from the Ataroi (Object no. SA 302; Photograph taken at Penn Museum).
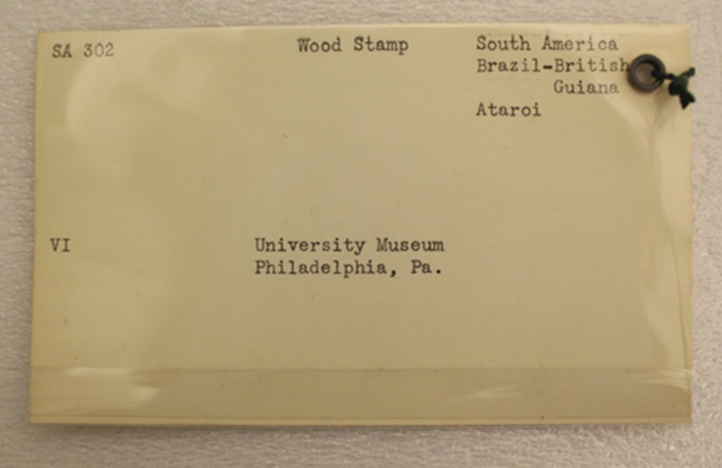
Figure 30. The card accompanying the stamps illustrated in Figures 25-29 (Object no. SA 302; Photograph taken at Penn Museum).
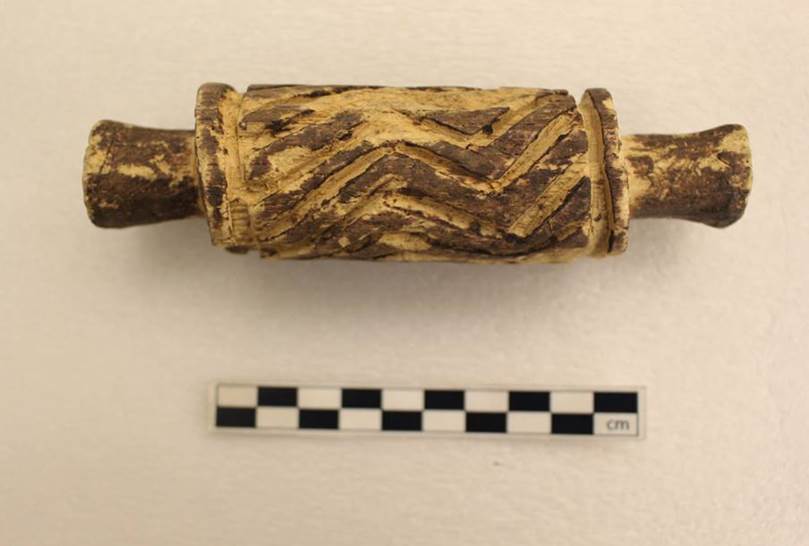
Figure 31. Main photograph 3D model is based on with 10cm scale (Object no. SA 302; Photograph taken at Penn Museum).
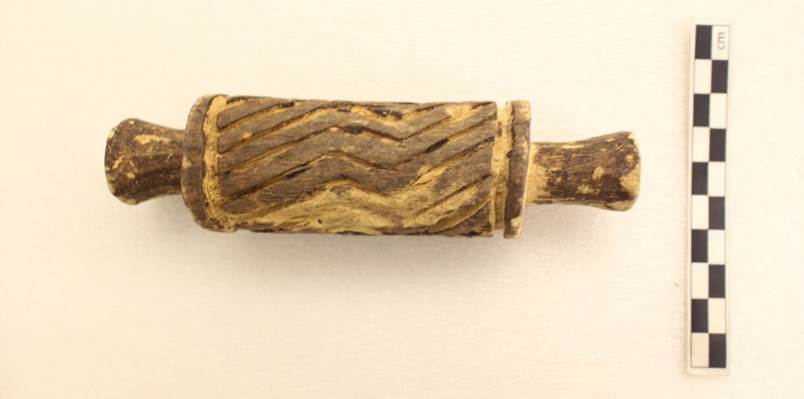
Figure 32. Ruler on side for width scale (Object no. SA 302; Photograph taken at Penn Museum).
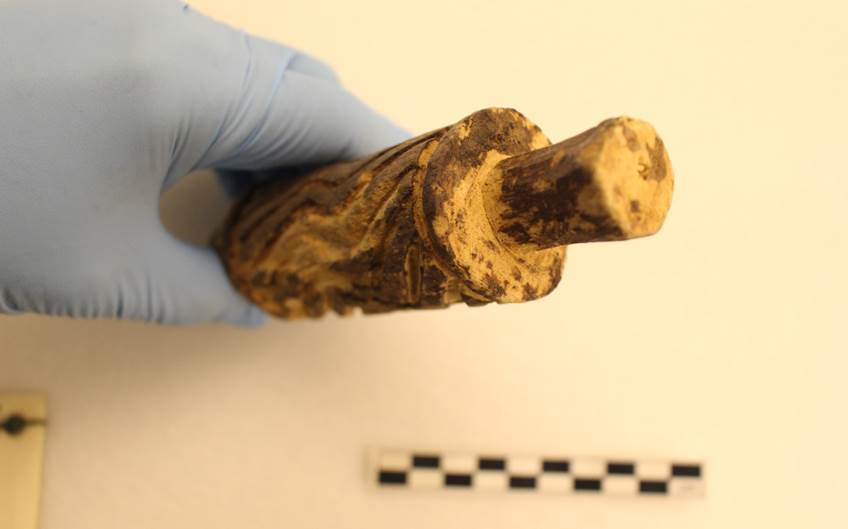
Figure 33. Close up of one of the handles (Object no. SA 302; Photograph taken at Penn Museum).
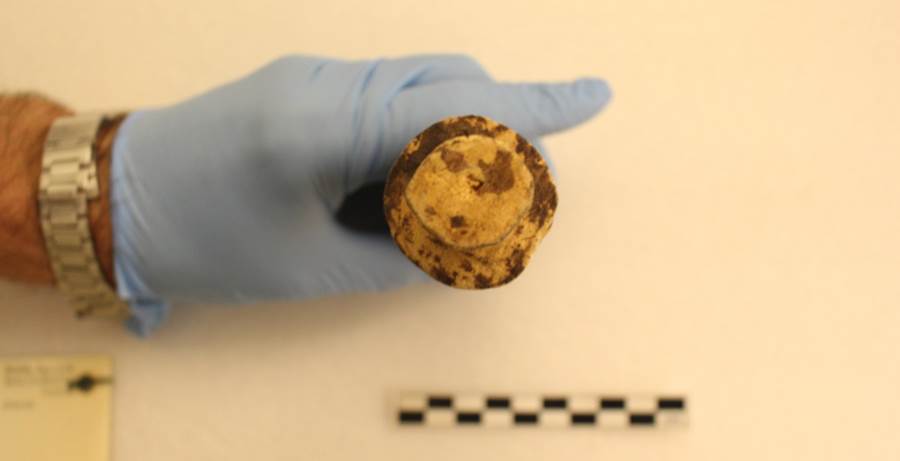
Figure 34. Side view (Object no. SA 302; Photograph taken at Penn Museum).
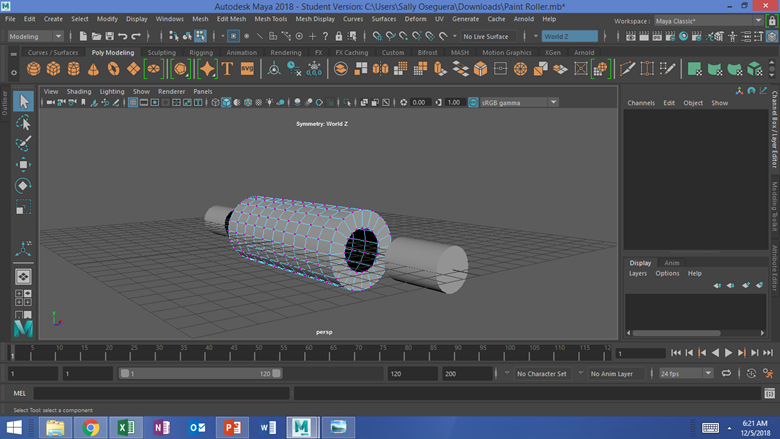
Figure 35. First attempt to construct stamp as three separate parts.
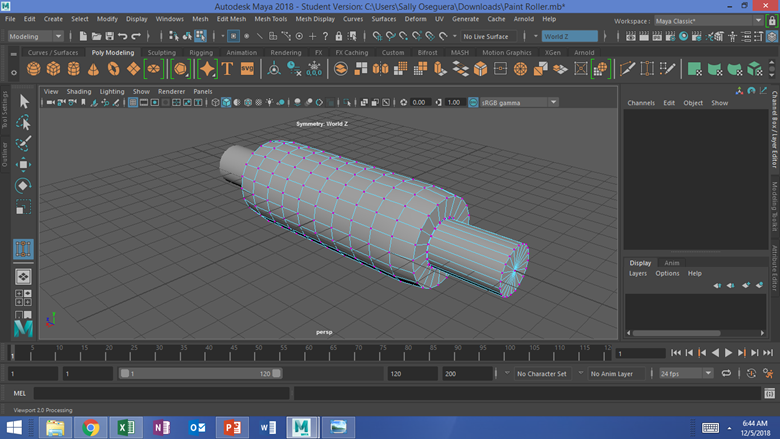
Figure 36. Stamp created from three parts which does not have correct overall shape.
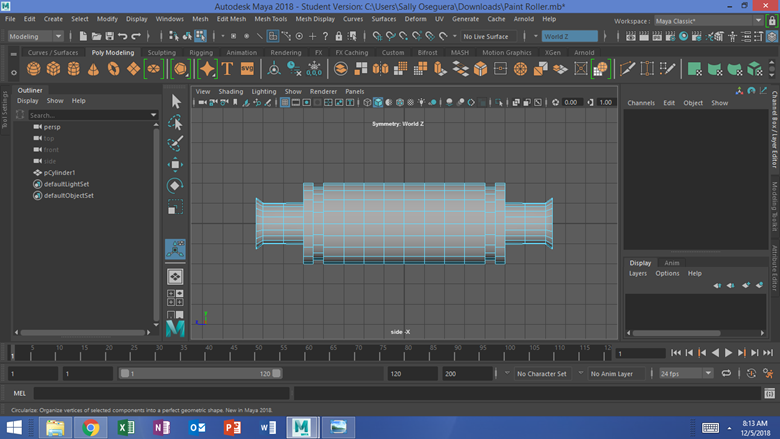
Figure 37. Basic shape successfully created from single cylinder.
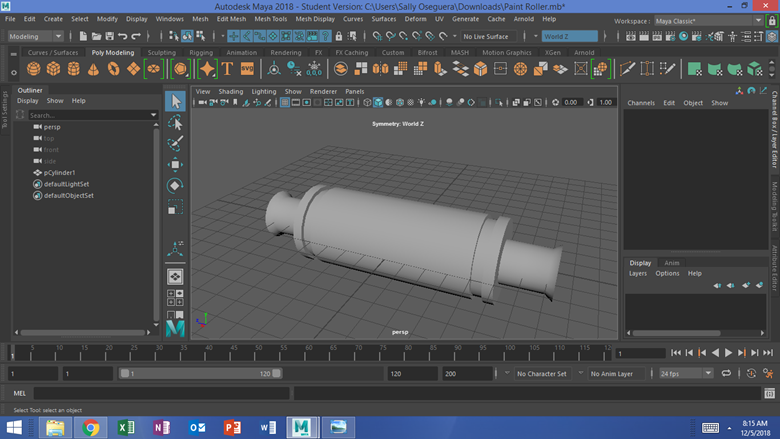
Figure 38. Basic shape without edge loops.
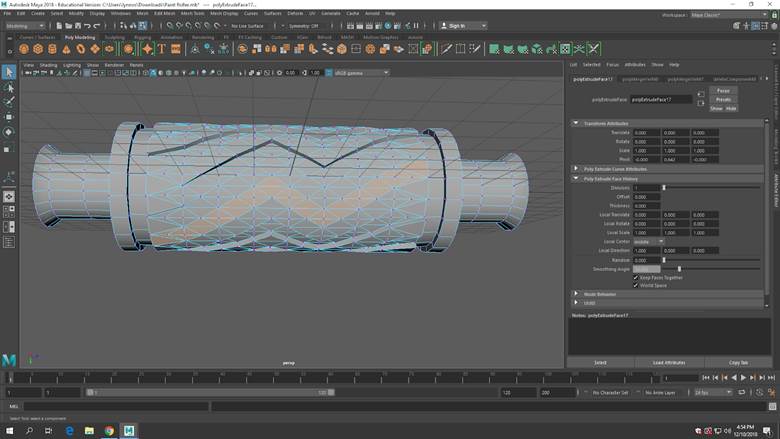
Figure 39. Hand drawing pattern after triangulating faces.
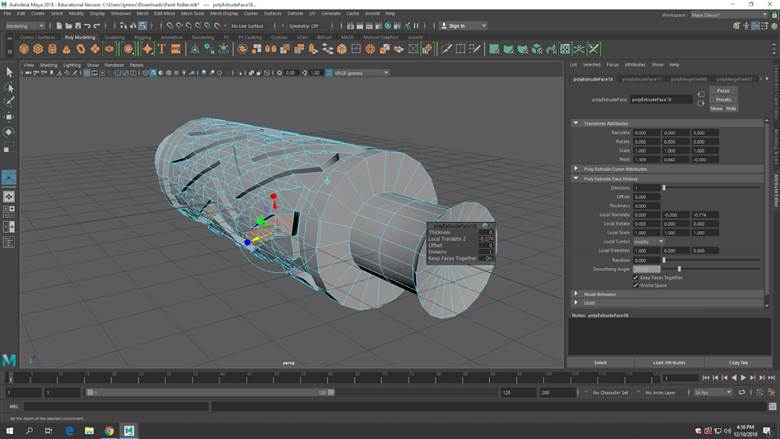
Figure 40 Extruding selected pattern.
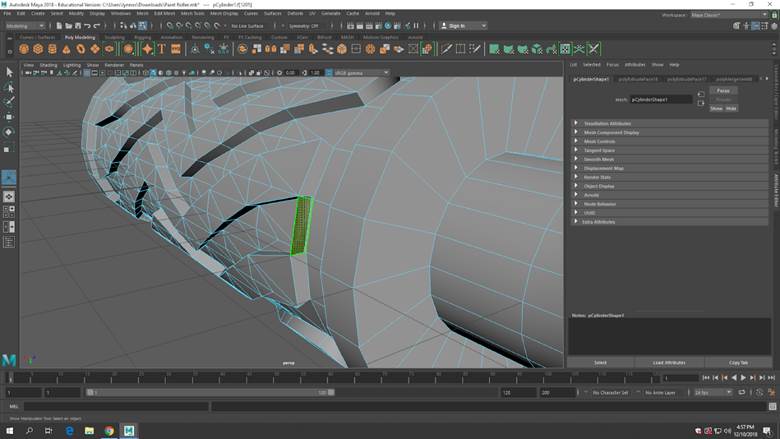
Figure 41. Deleting extra faces created in extruding process.
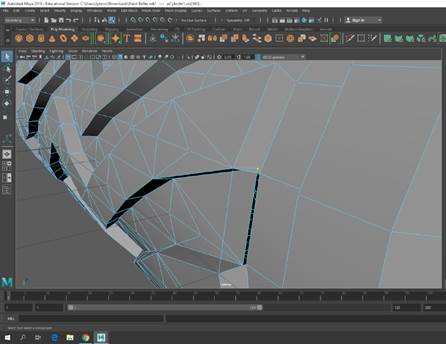
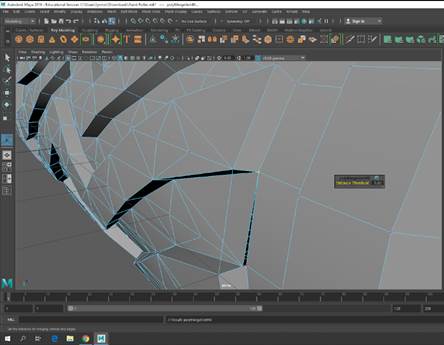
Figure 42. Connecting vertices to fix gaps left from deleting faces.
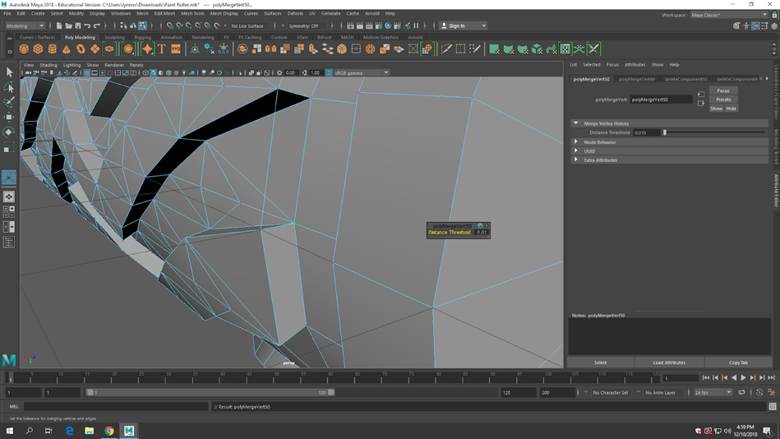
Figure 43. Close up of fixed section.
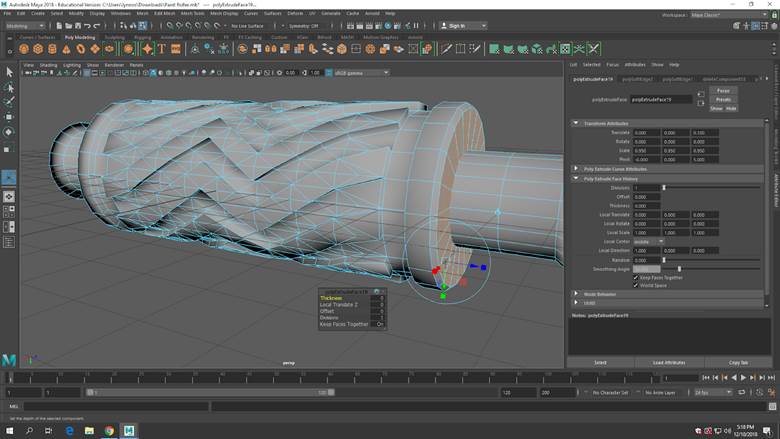
Figure 44. Extruding faces on the handle to give more rounded look .
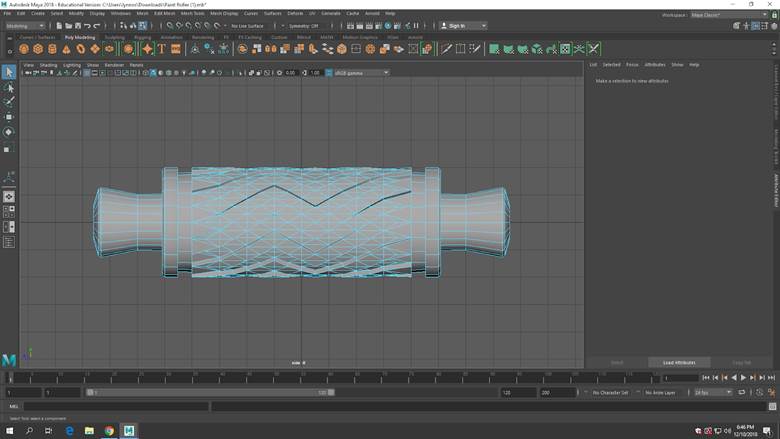
Figure 45. Final shape with grid.
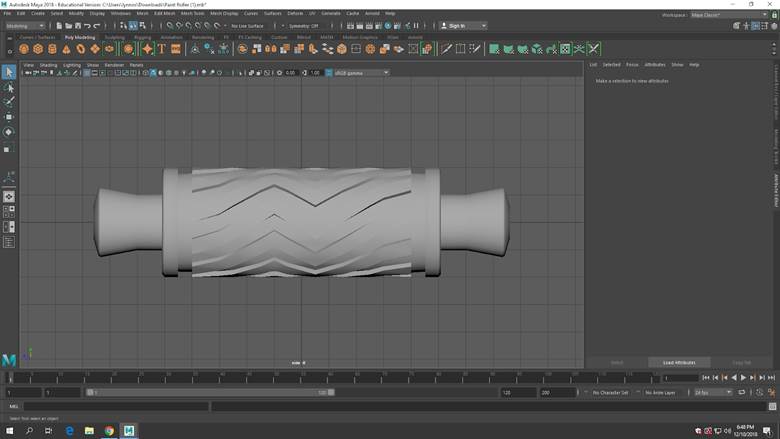
Figure 46. Final shape without grid after hardening and smoothing the edges.
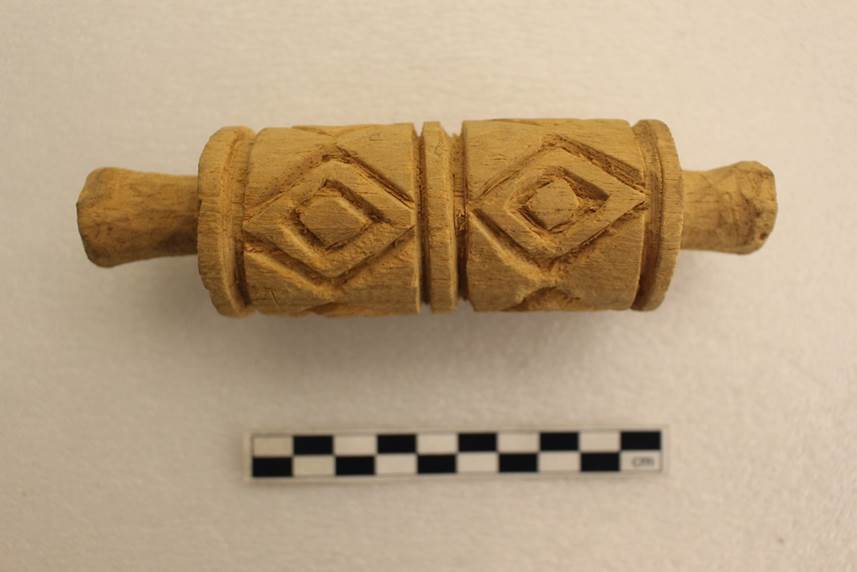
Figure 47. Reference picture for unused wooden texture and color (Object no. SA 302; Photograph taken at Penn Museum).
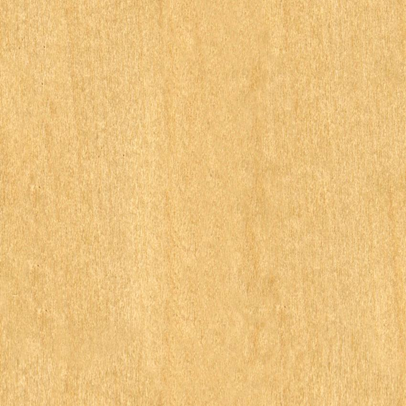
Figure 48. Wooden texture that has been edited to match the color of the stamp in Figure 47.
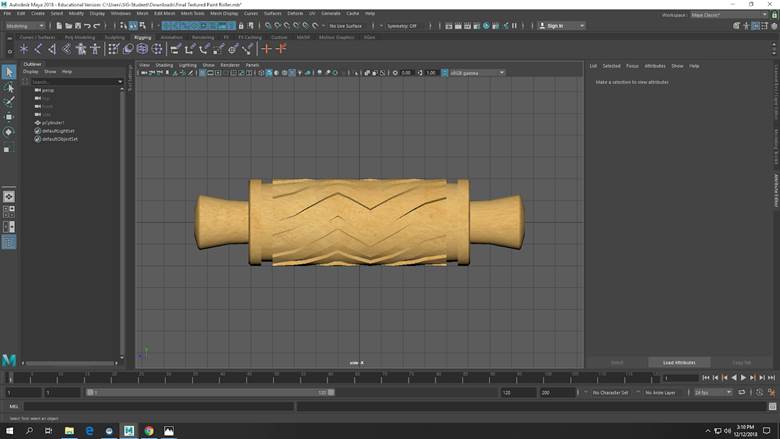
Figure 49. Final stamp model.
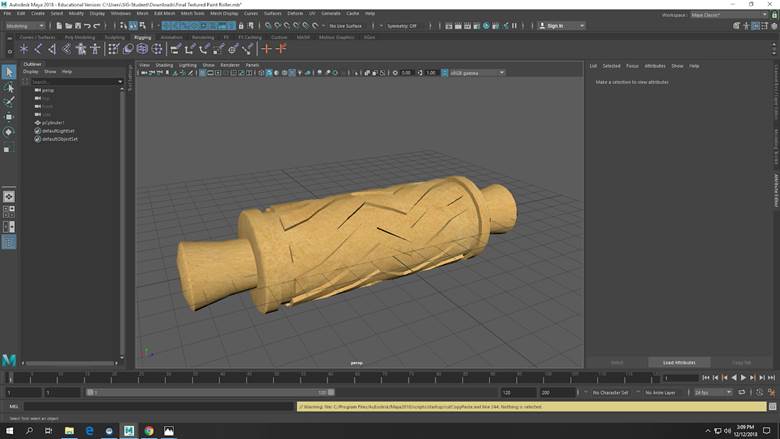
Figure 50. Final stamp model from an angle that better shows 3D pattern.
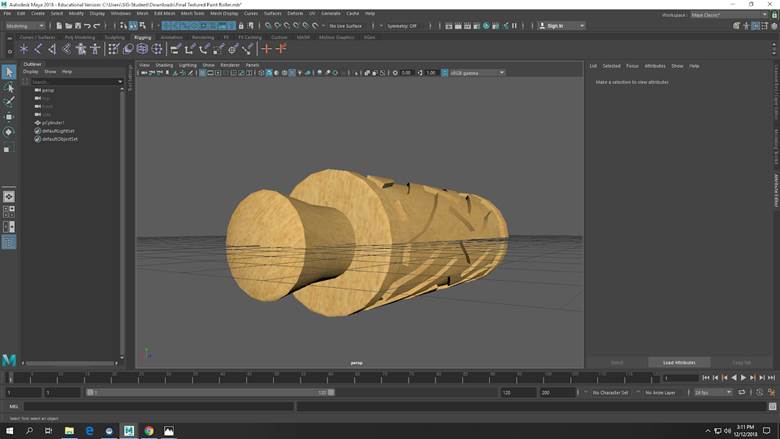
Figure 51. Side view of final stamp model.

Figure 52. Face paint on model.
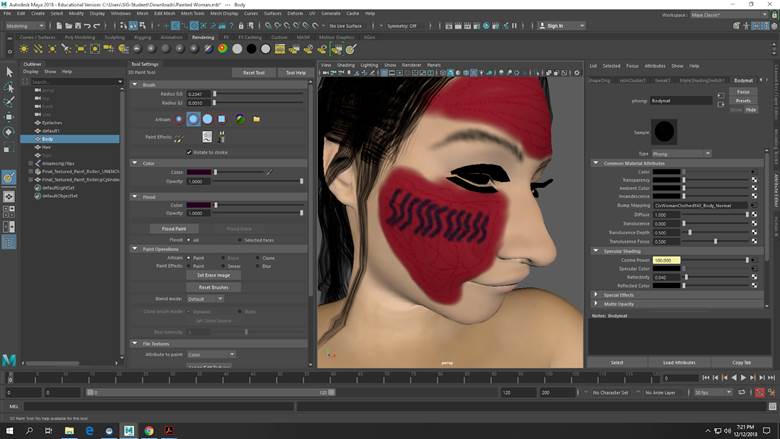
Figure 53. Closer angle of face paint on model.
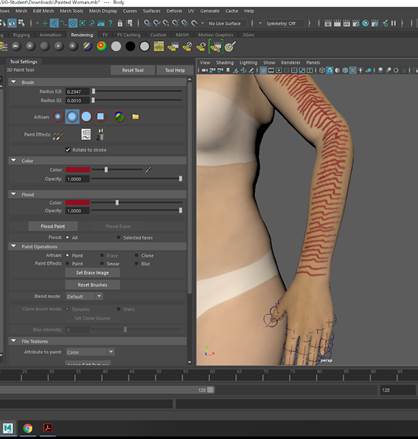
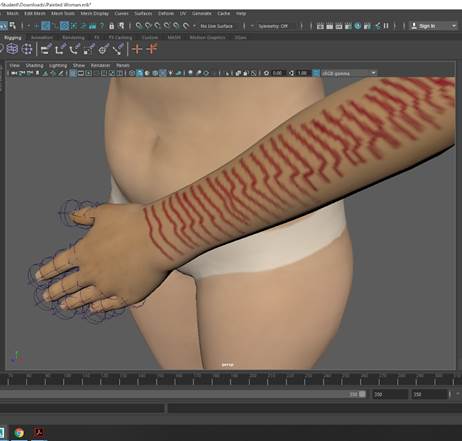
Figure 54. Hand painted pattern on the arm of the model.
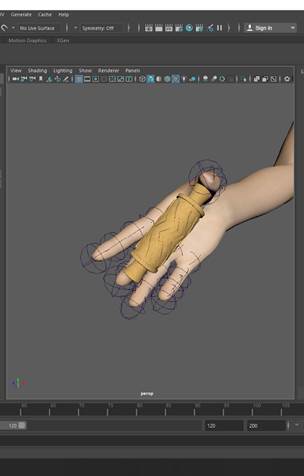
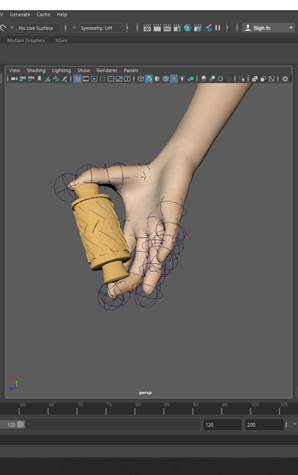
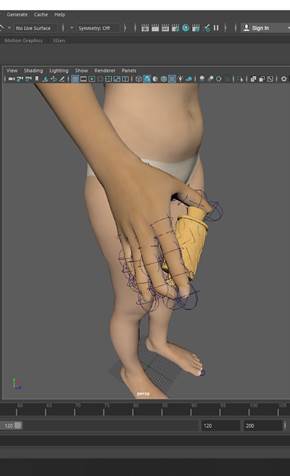
Figure 55. Positioning the stamp in the model’s hand.
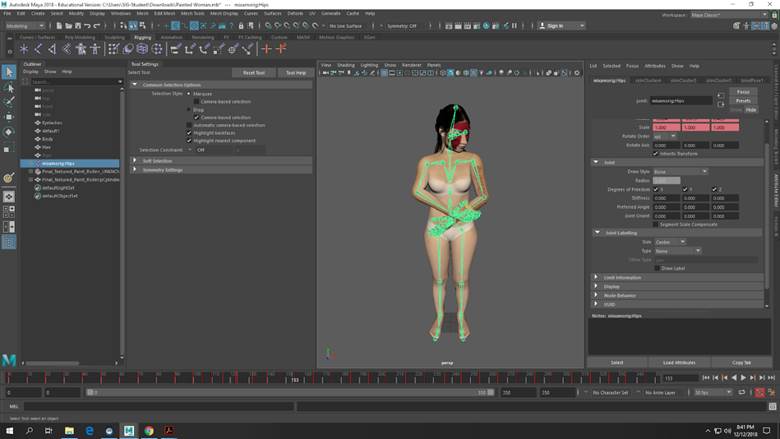
Figure 56. Using the rigging to create poses to key frame to create the final animation.
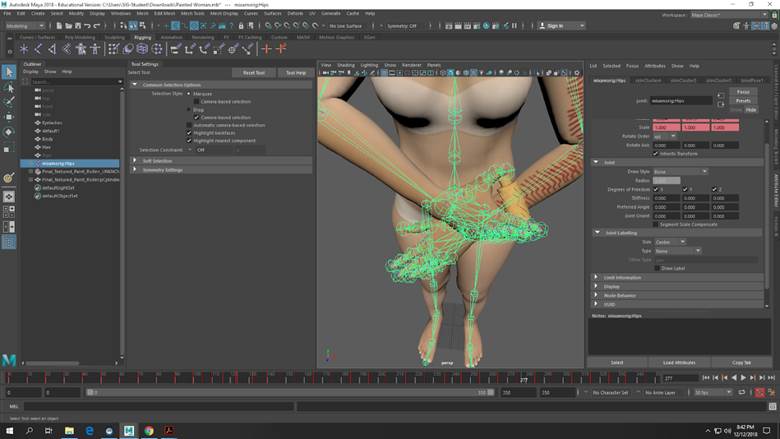
Figure 57. Close up of positioning the hands while rigging the animation.
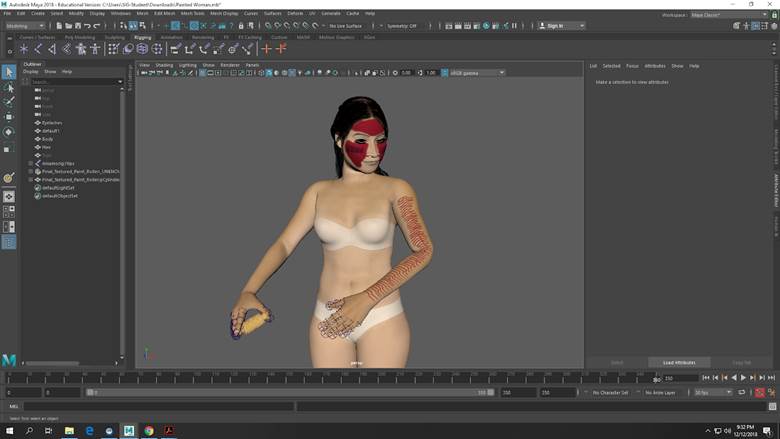
Figure 58. Still from the final animation which captures the sense of movement.