Reconstructing a Ring Ditch with Palisade Wall
Figures

Figure 1: A ring ditch in the Amazonia landscape. (Photograph courtesy Clark Erickson Erickson et al. 2008:13 Figure 2)
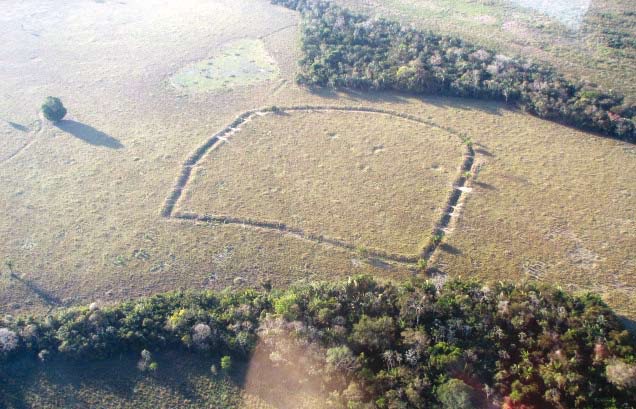
Figure 2: A ring ditch with a geometric form. (Photograph courtesy Clark Erickson Erickson et al. 2008:13 Figure 3).
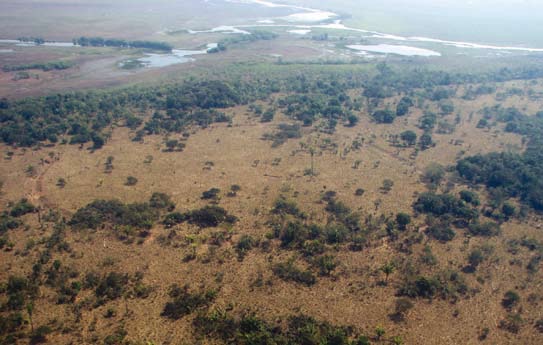
Figure 3: A ring ditch with the flooded savanna in the background. (Photograph courtesy Clark Erickson Erickson et al. 2008:14 Figure 4).
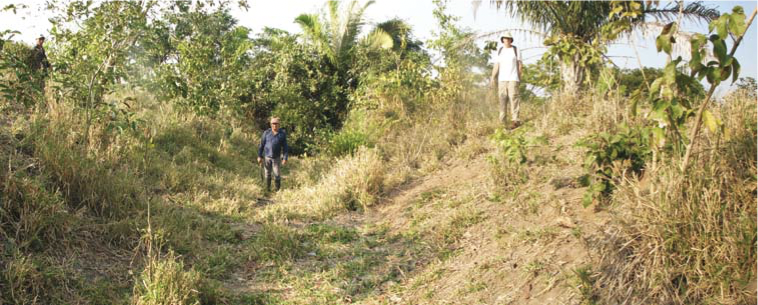
Figure 4: Researchers standing in an overgrown and eroded ring ditch. (Photograph courtesy Clark Erickson Erickson et al. 2008:29 Figure 15).
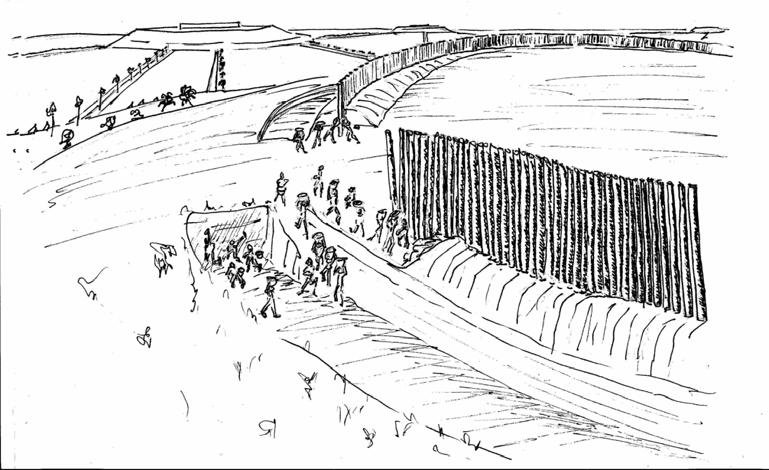
Figure 5: A palisade wall surrounding a ring ditch. (Artwork by Danny Brashear Erickson 2010:630 Figure 5).
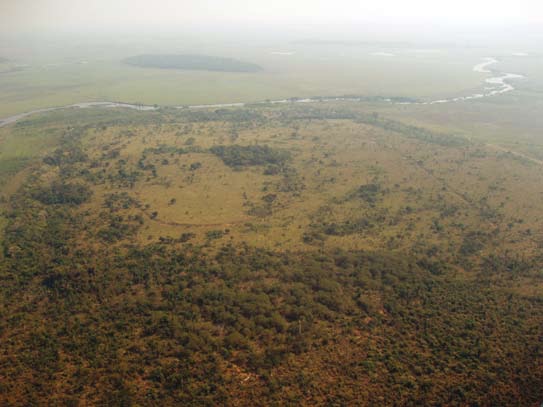
Figure 6: Cleared trees in and around a ring ditch on a forest island. (Photograph courtesy Clark Erickson Erickson et al. 2008:14 Figure 5).
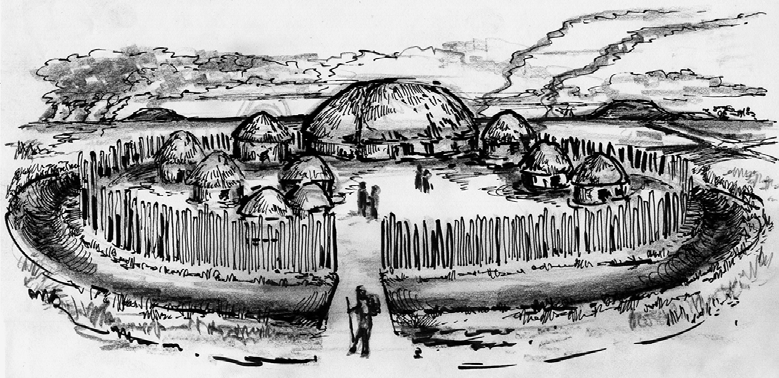
Figure 7: A ring ditch with occupants engaged in daily life. (Artwork by Daniel Brinkmeier Erickson 2010:631 Figure 6).
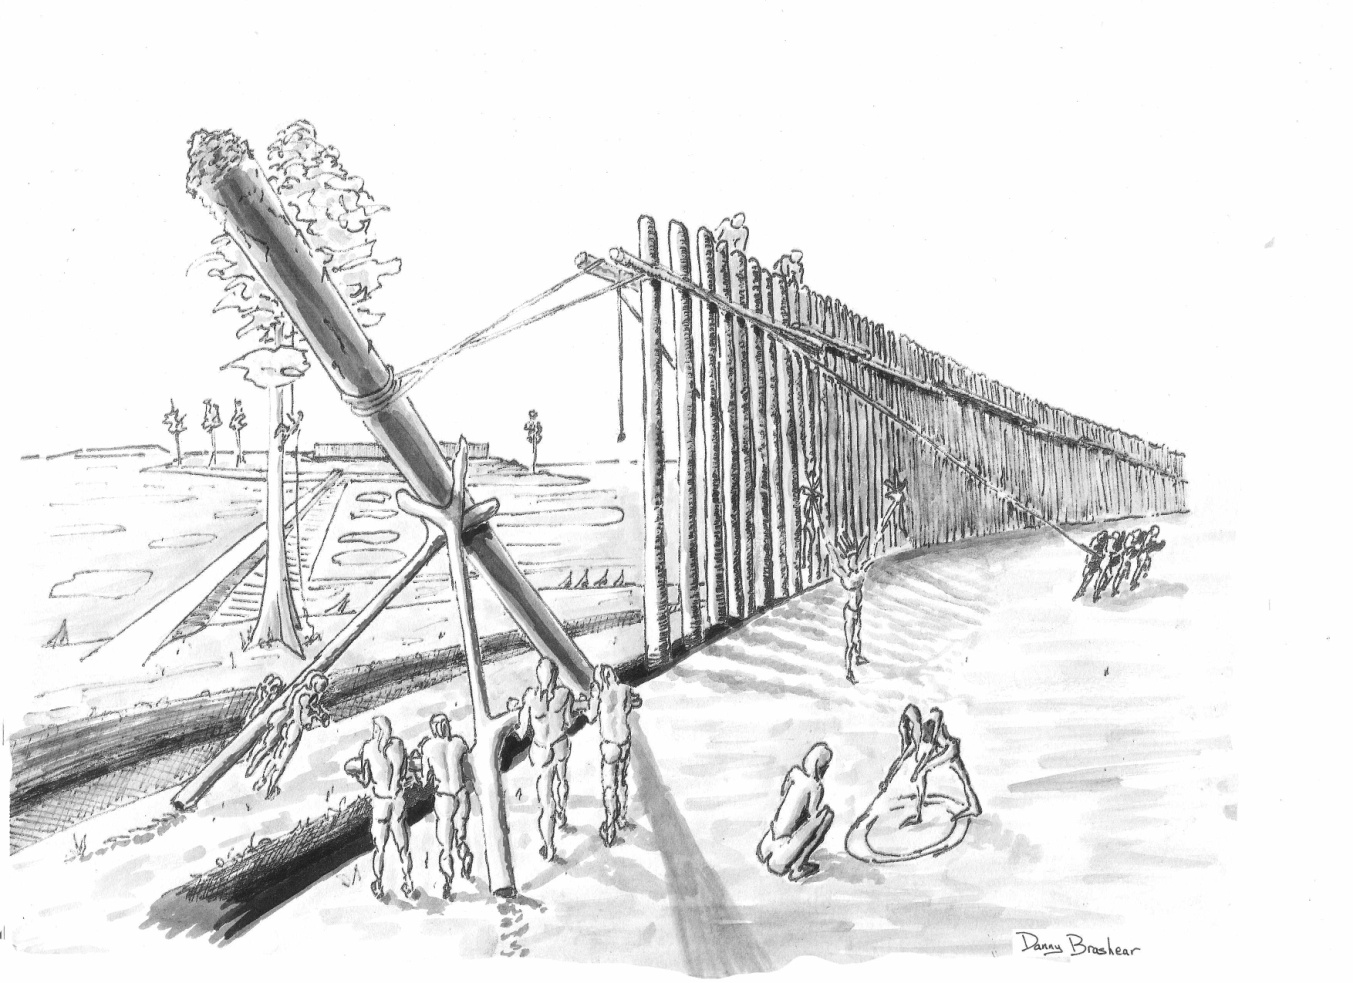
Figure 8: A palisade wall being constructed around a ring ditch. (Artwork by Danny Brashear Erickson 2010:636 Figure 8).
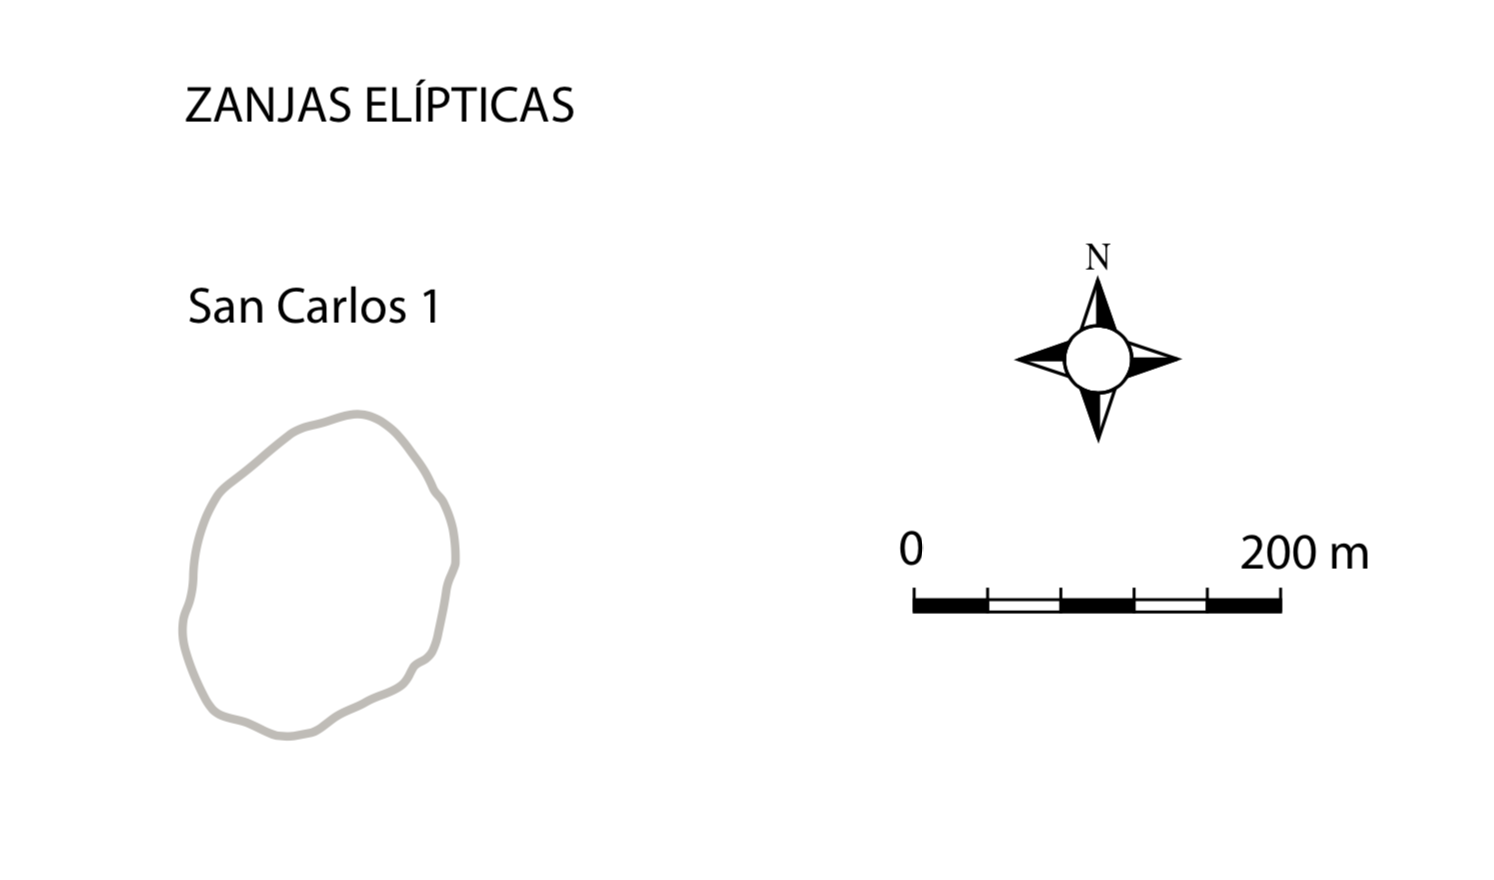
Figure 9: Plan drawing of the San Carlos 1 ring ditch. (Drawing courtesy Clark Erickson Erickson et al. 2008:56 Figure 35).

Figure 10: Section drawing of the San Carlos 1 ring ditch. (Drawing courtesy Clark Erickson Erickson et a. 2008:50 Figure 30).
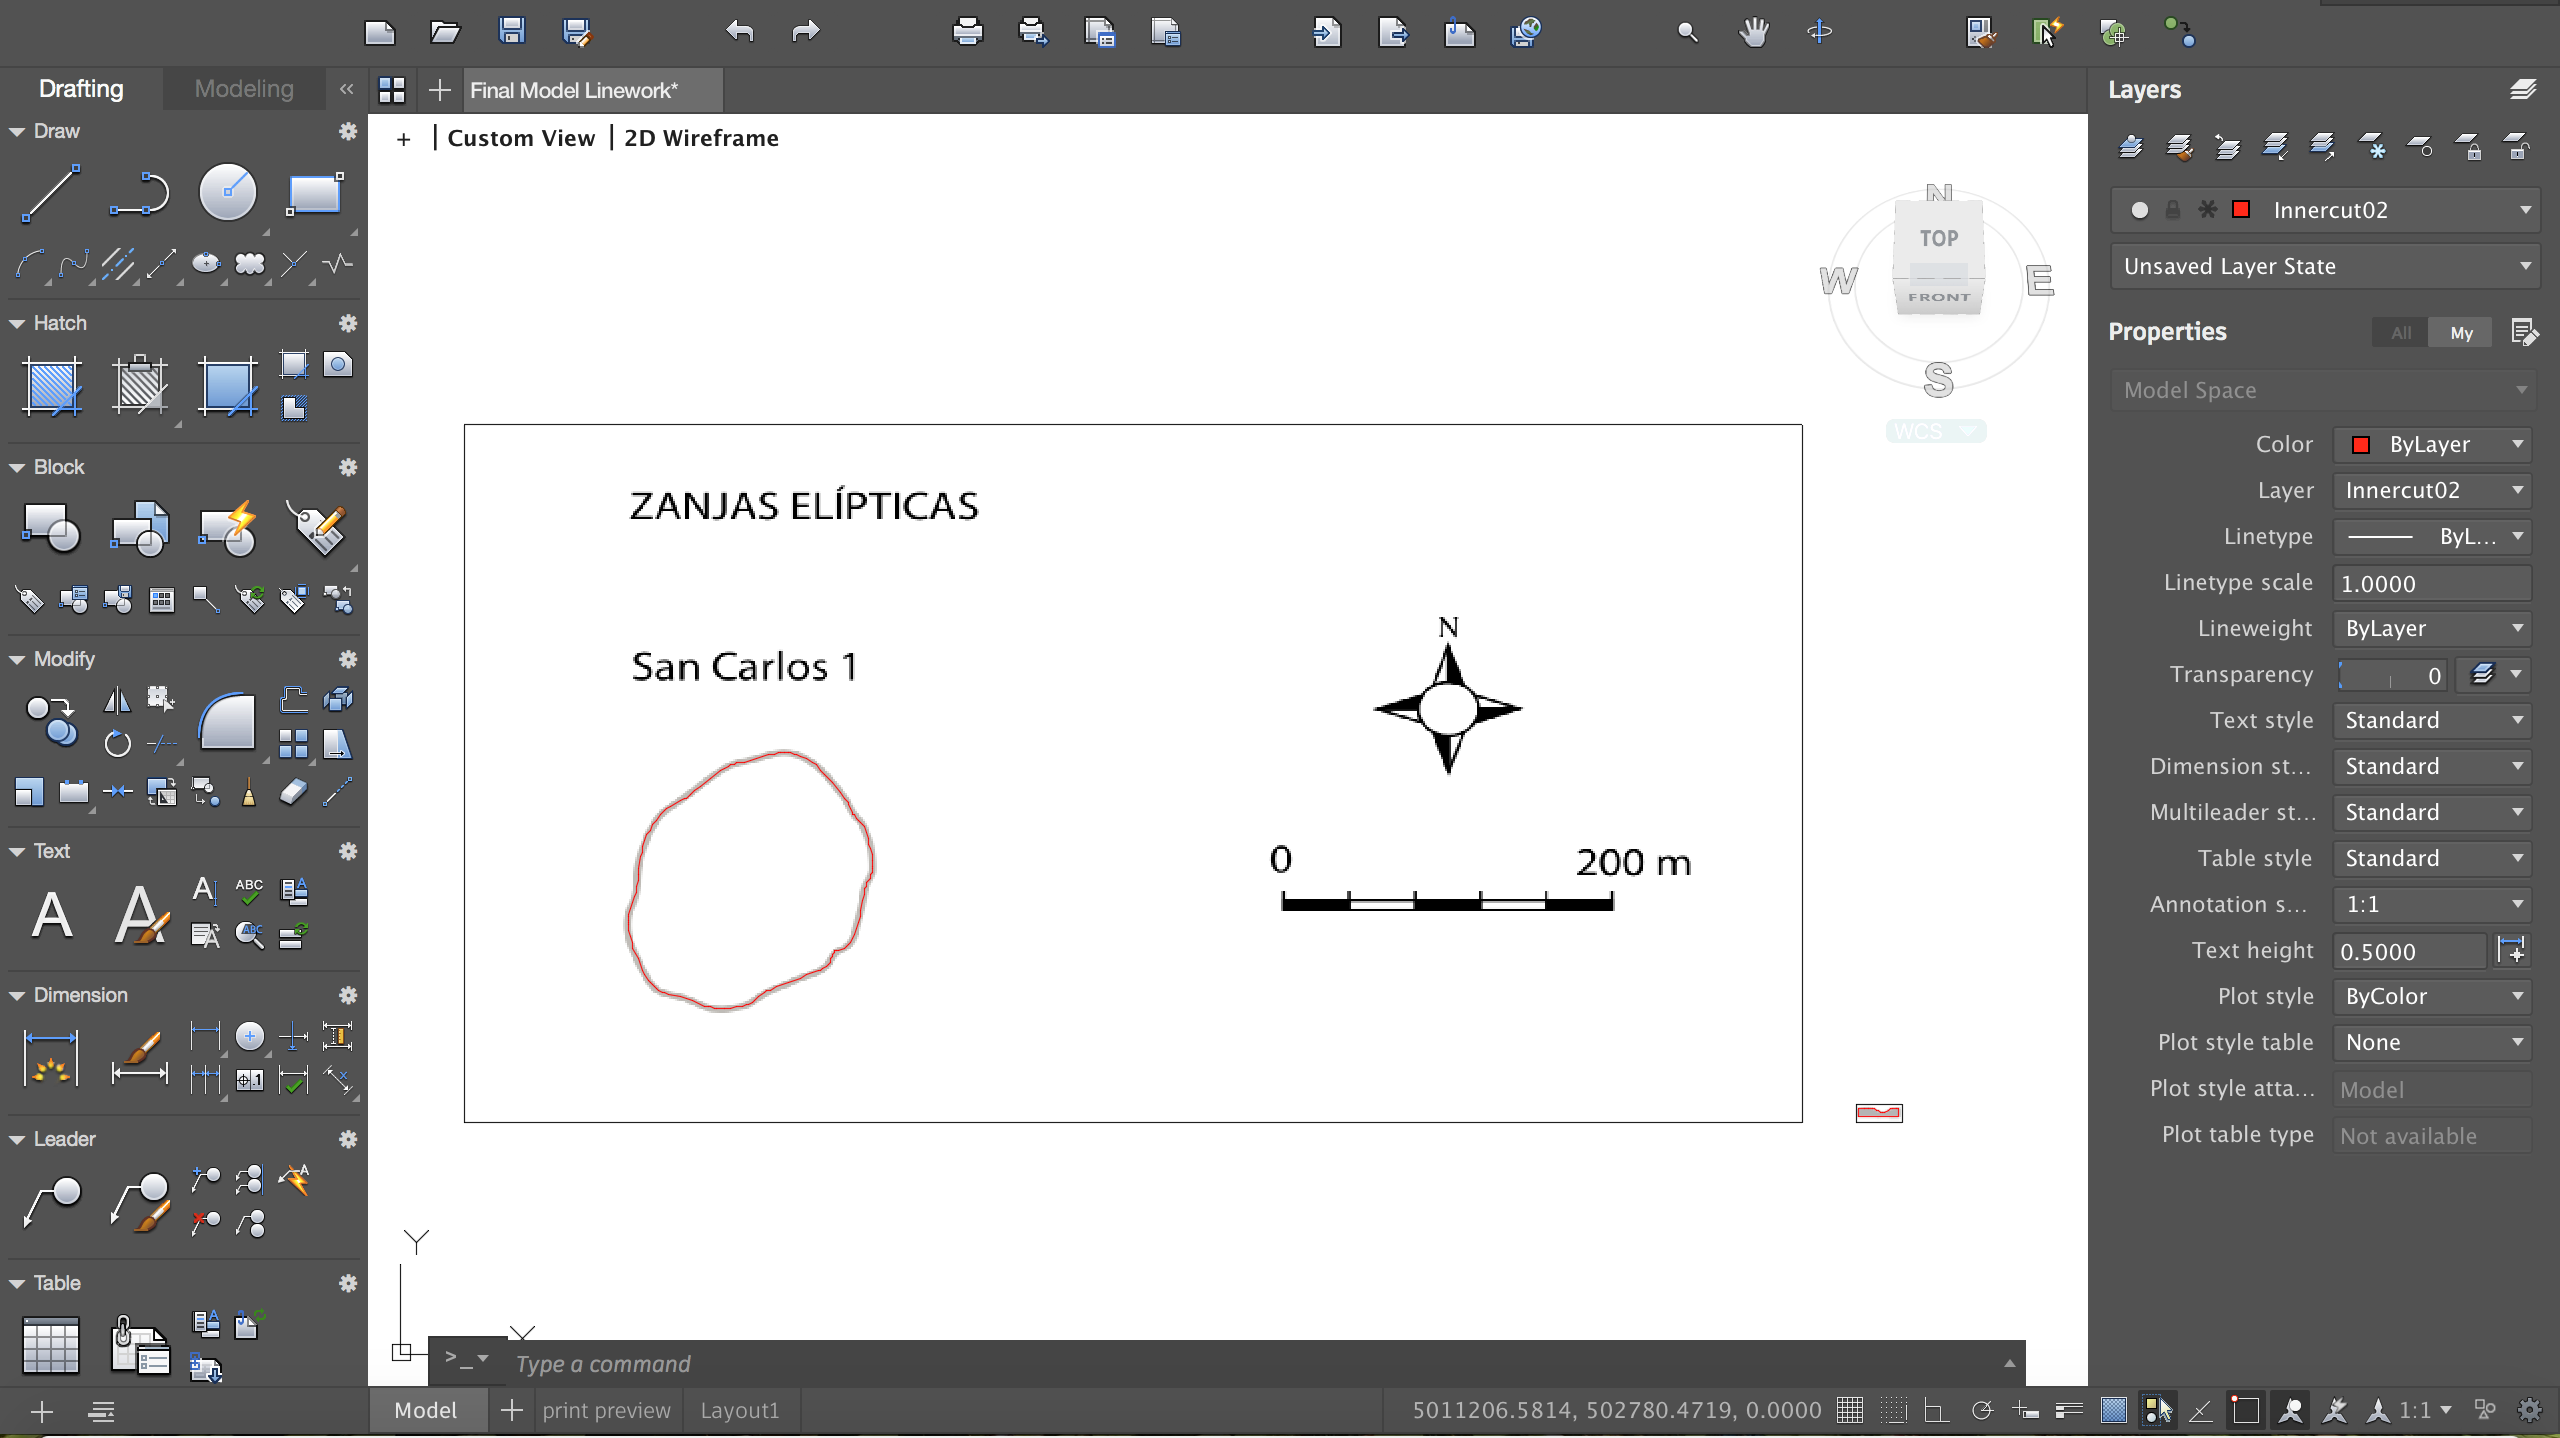
Figure 11: AutoCAD spline tracing over the plan drawing of a ring ditch.
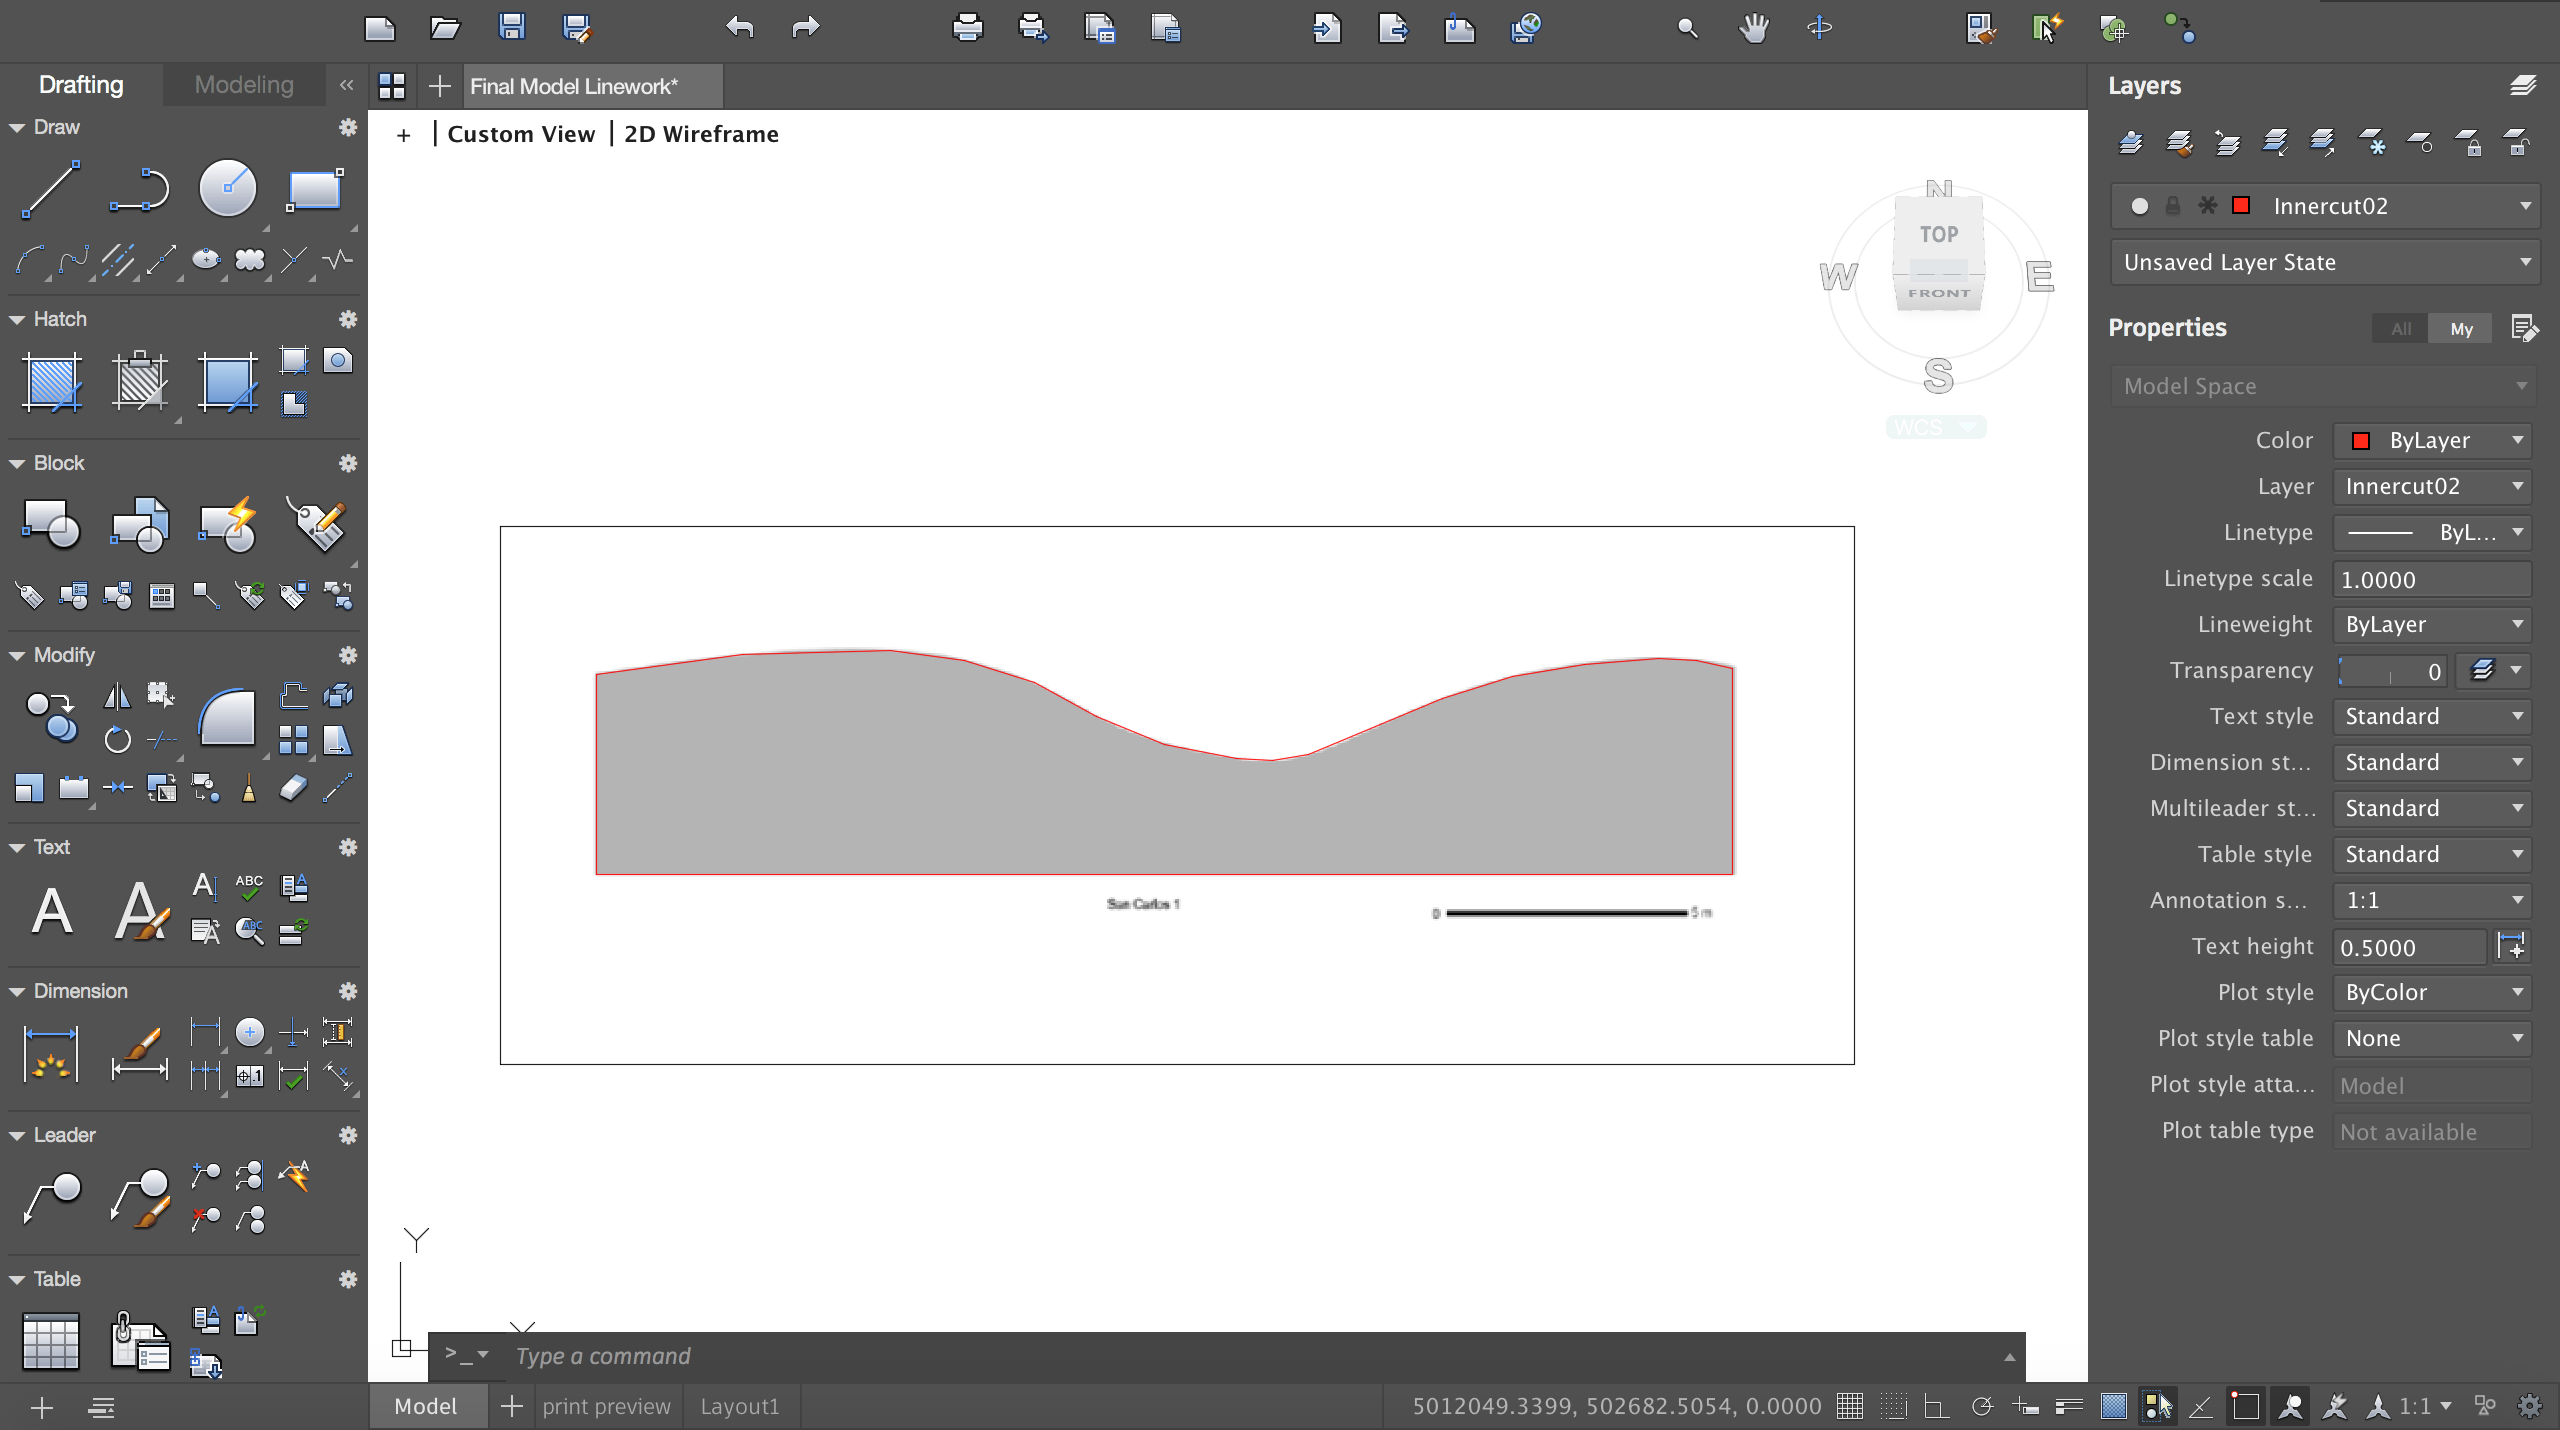
Figure 12: AutoCAD spline tracing over the section drawing of a ring ditch.
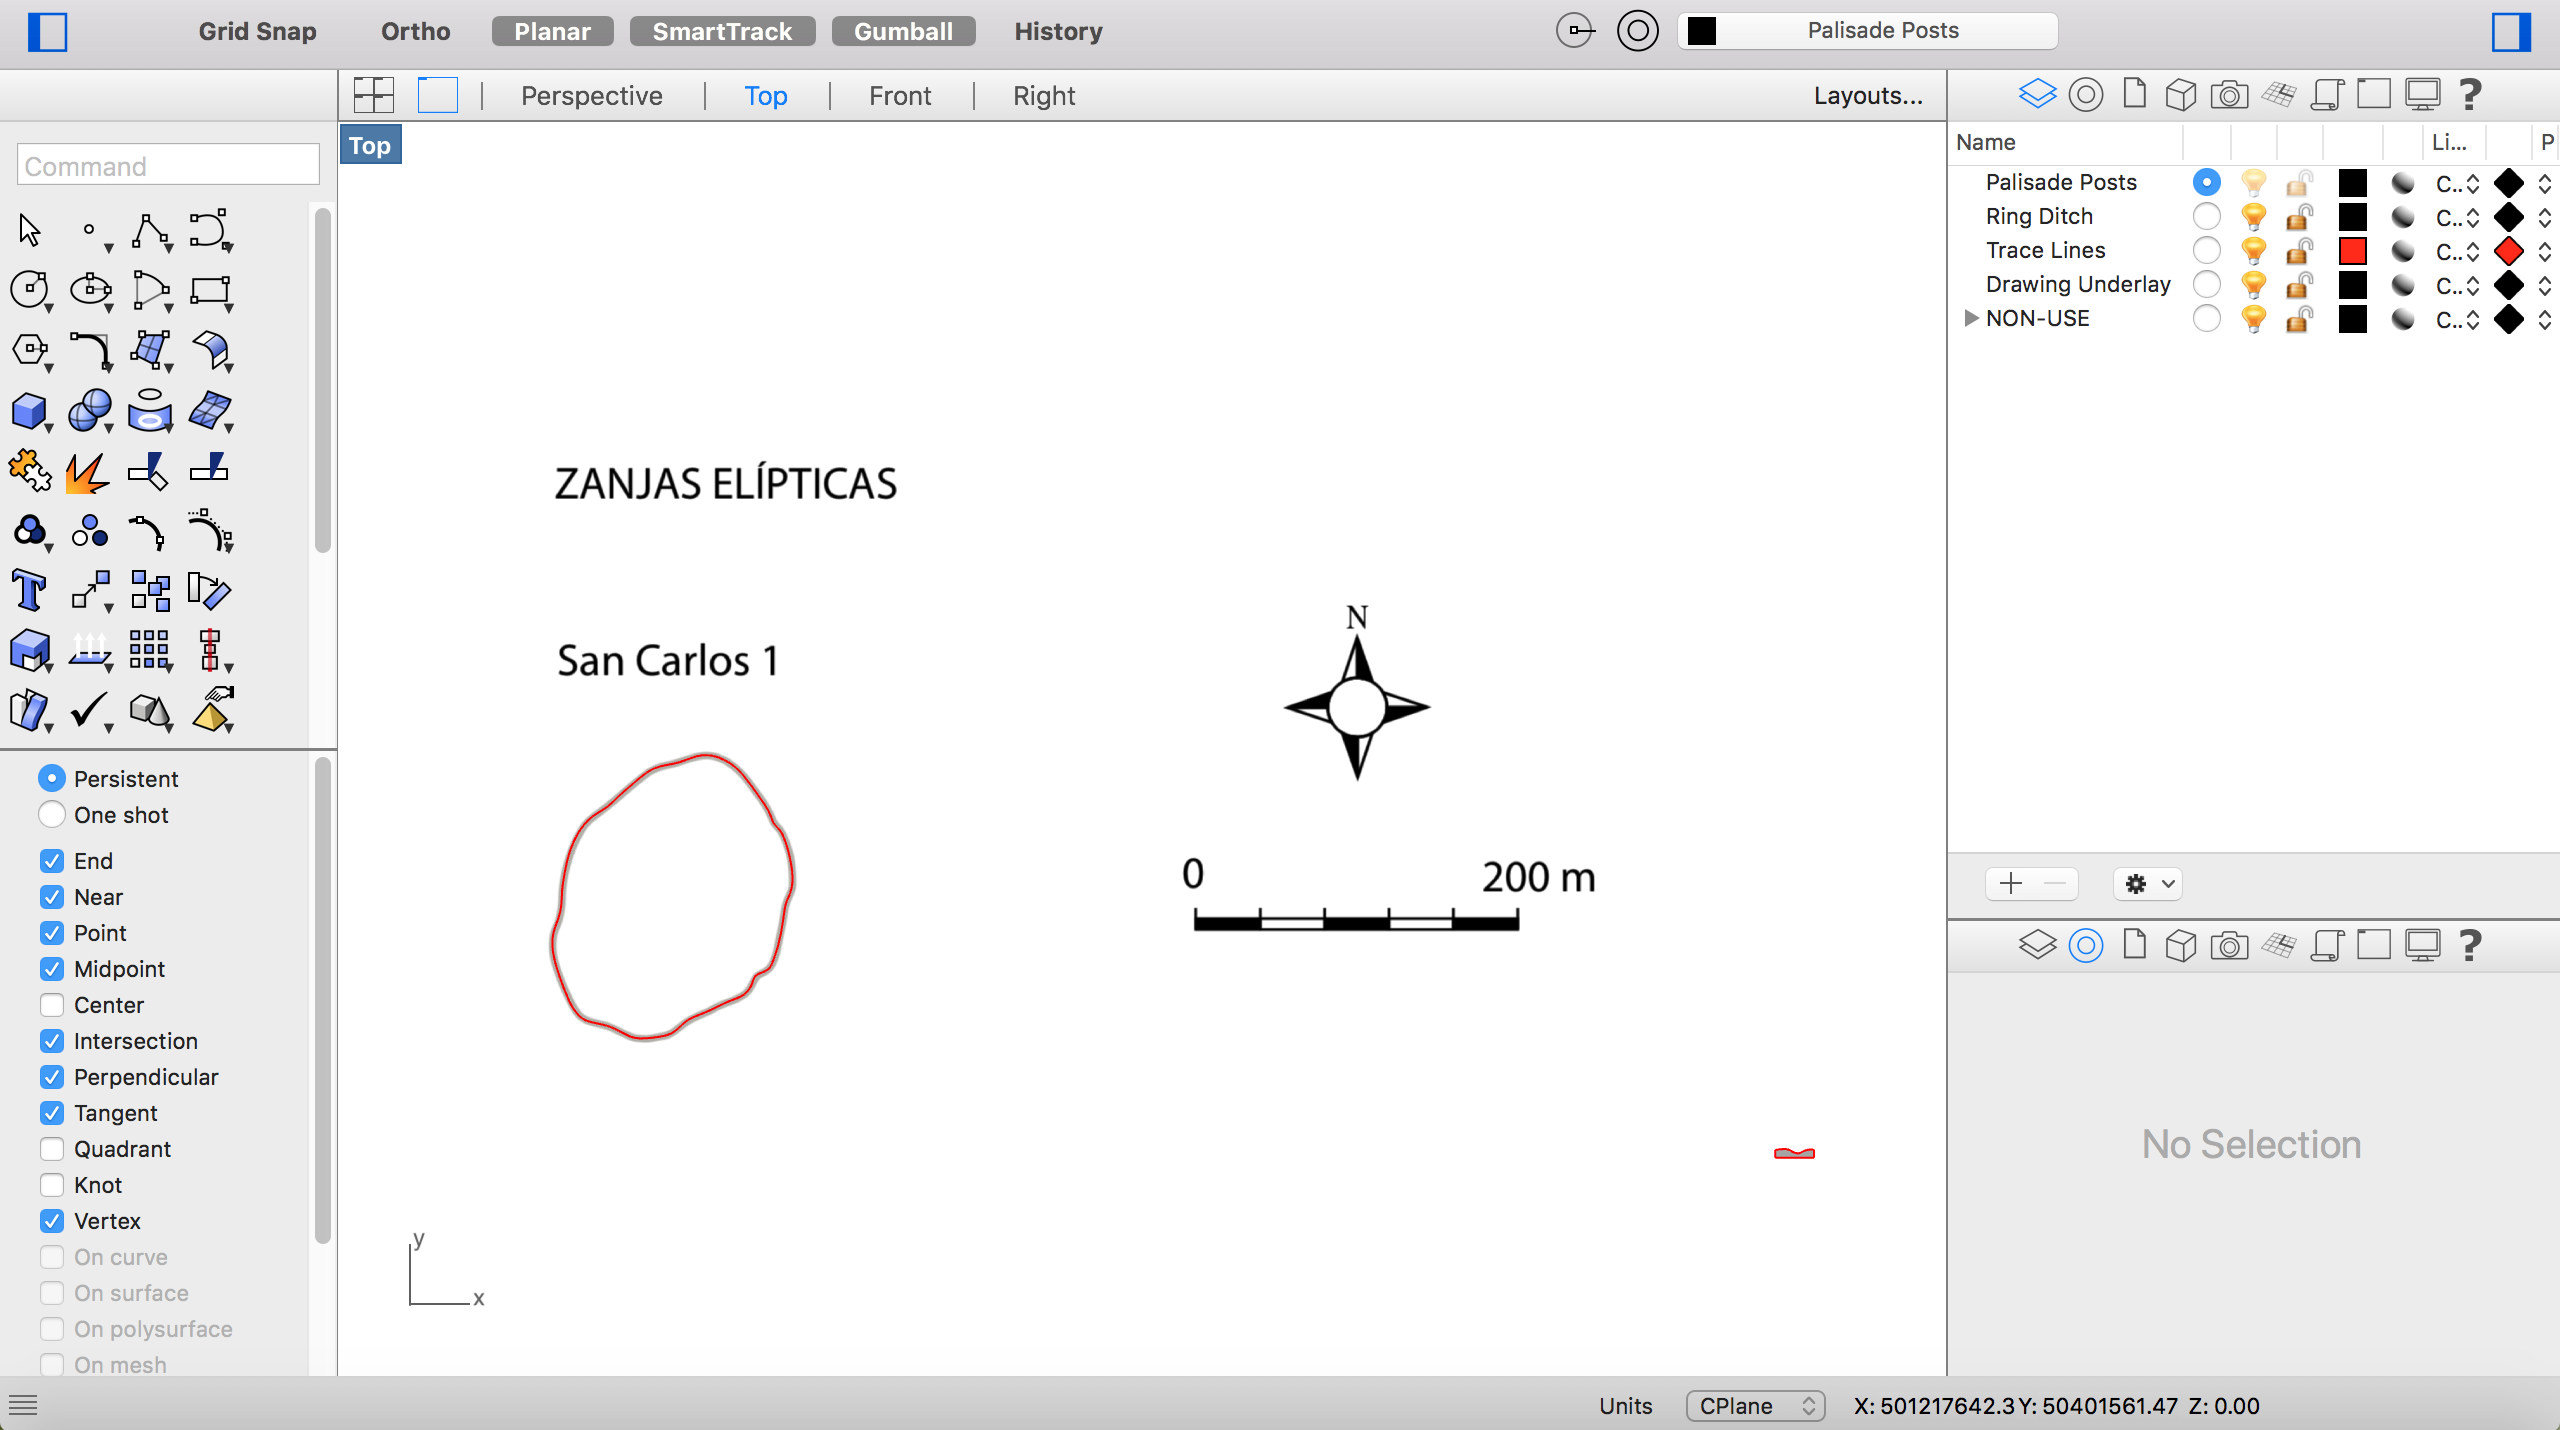
Figure 13: Scaled drawings and linework in Rhino.
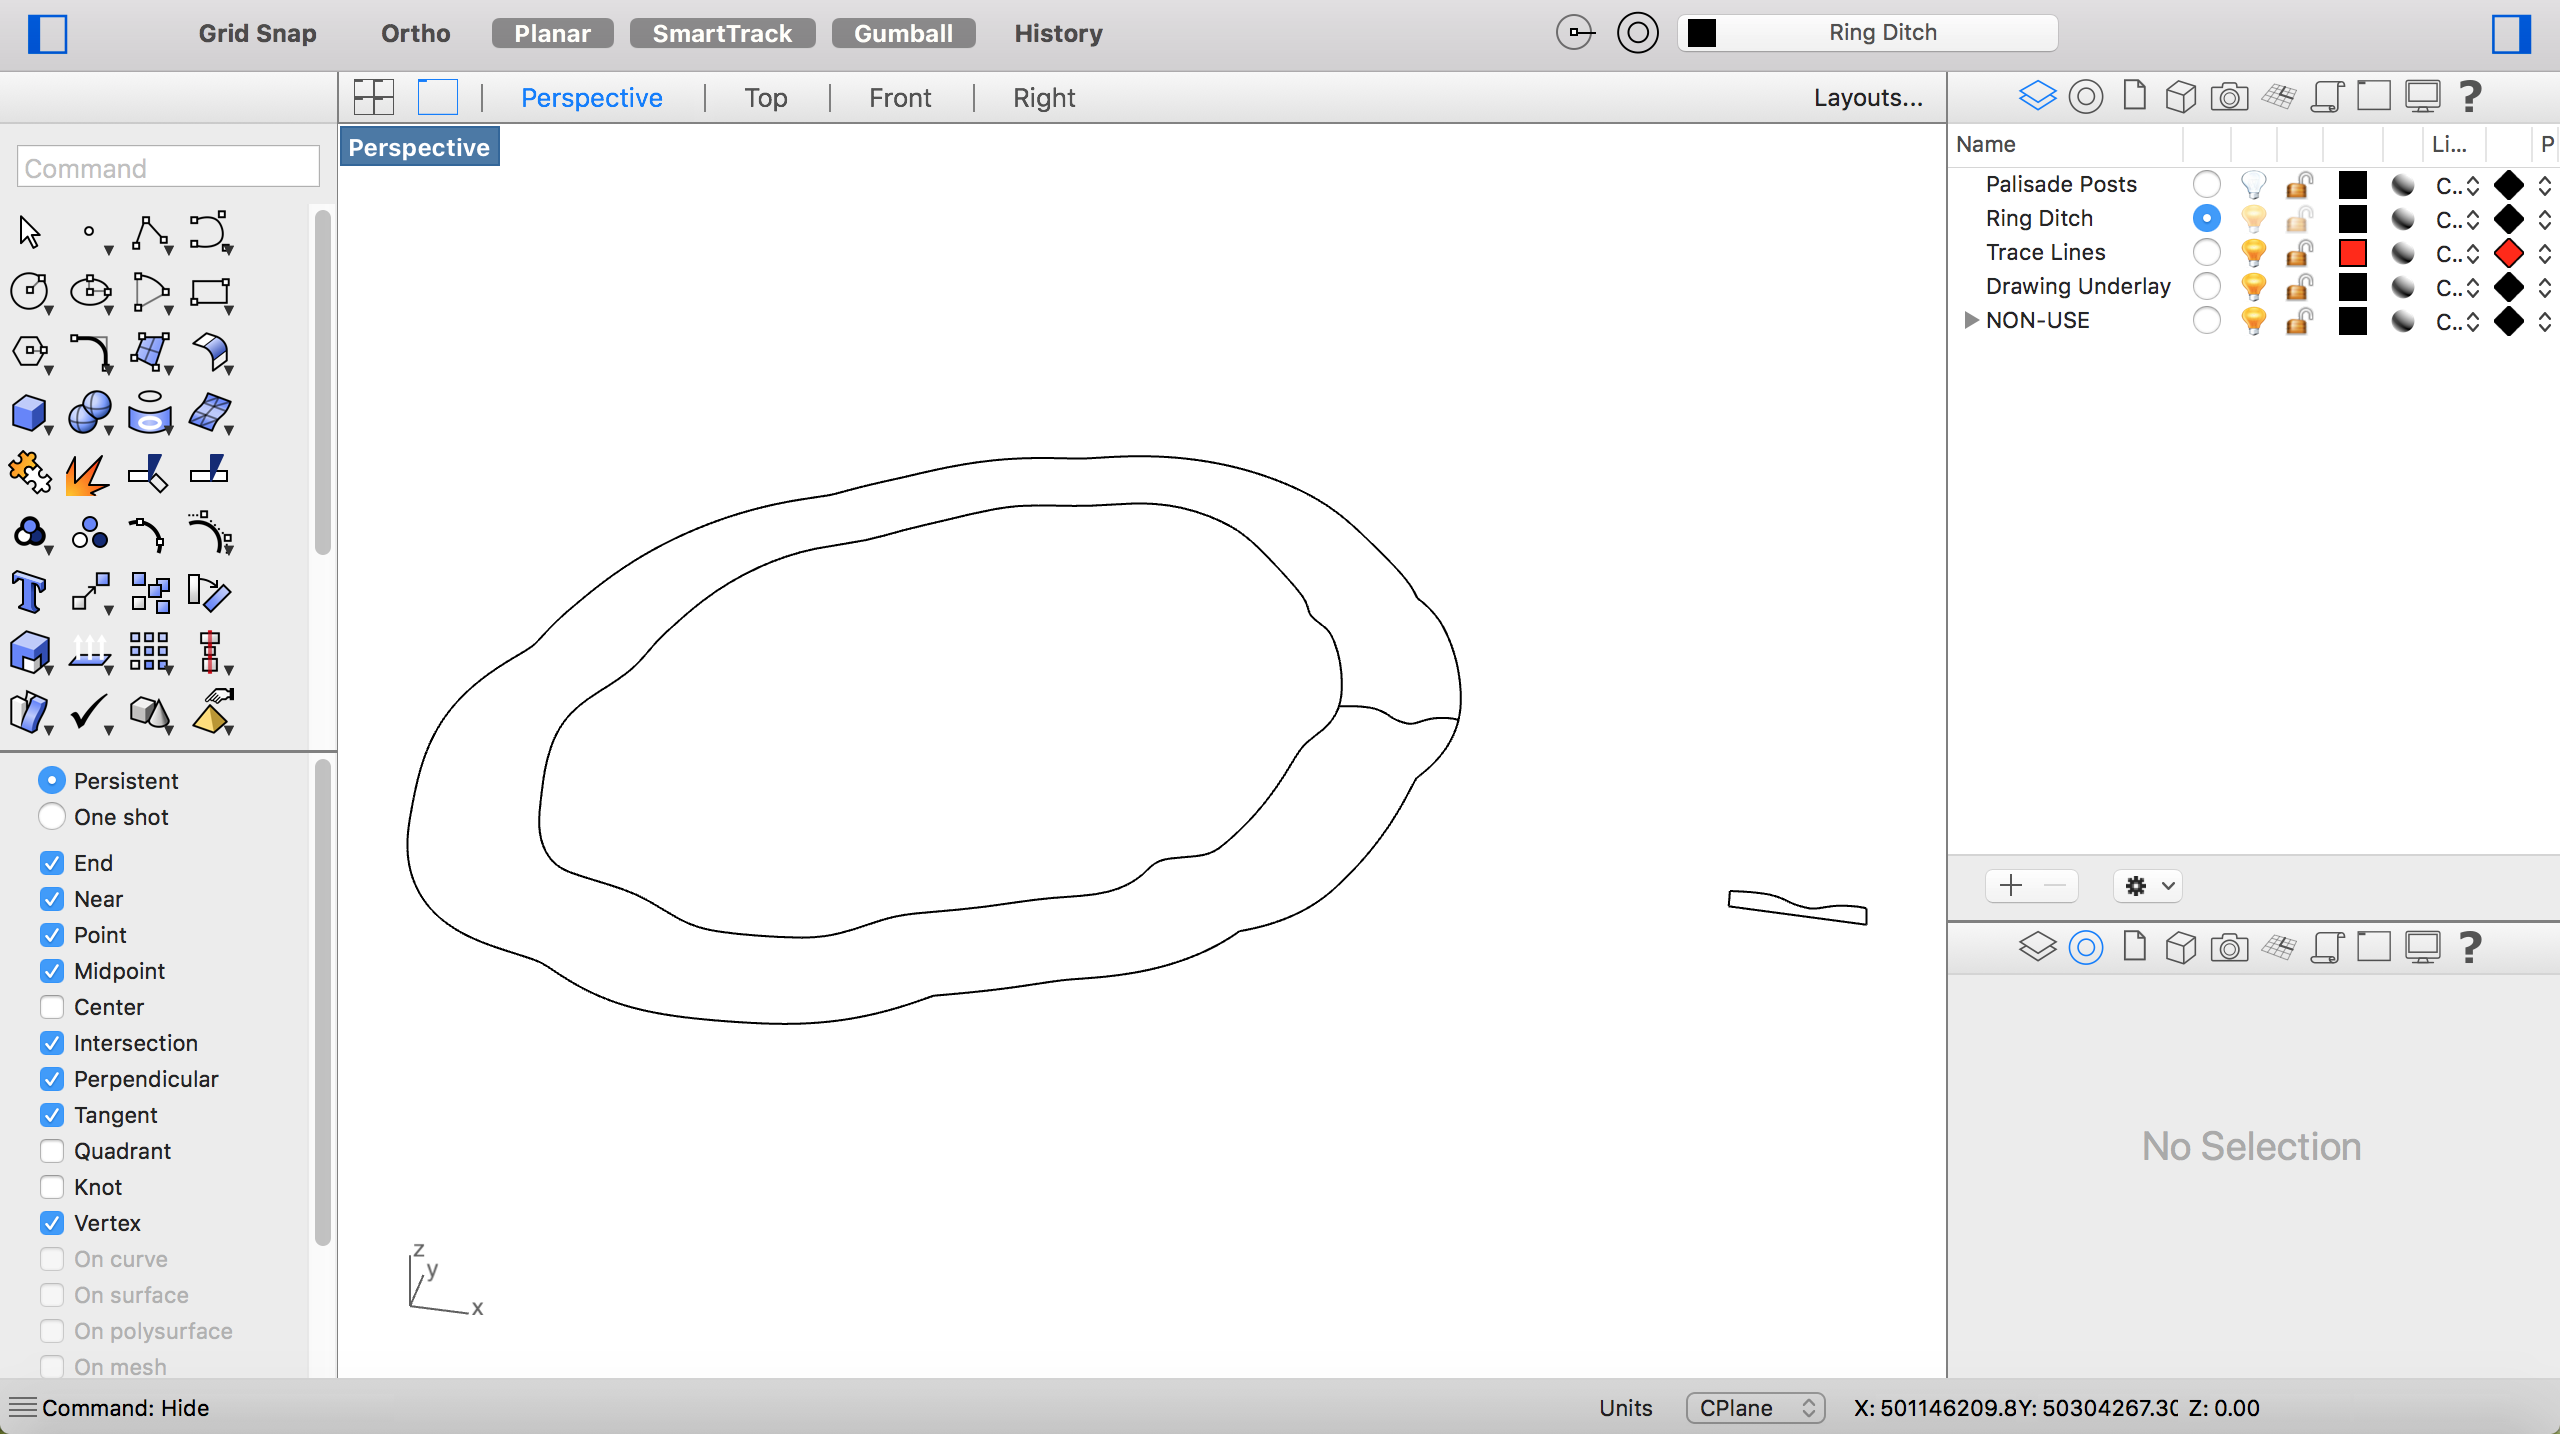
Figure 14: Offset plan curves in Rhino.
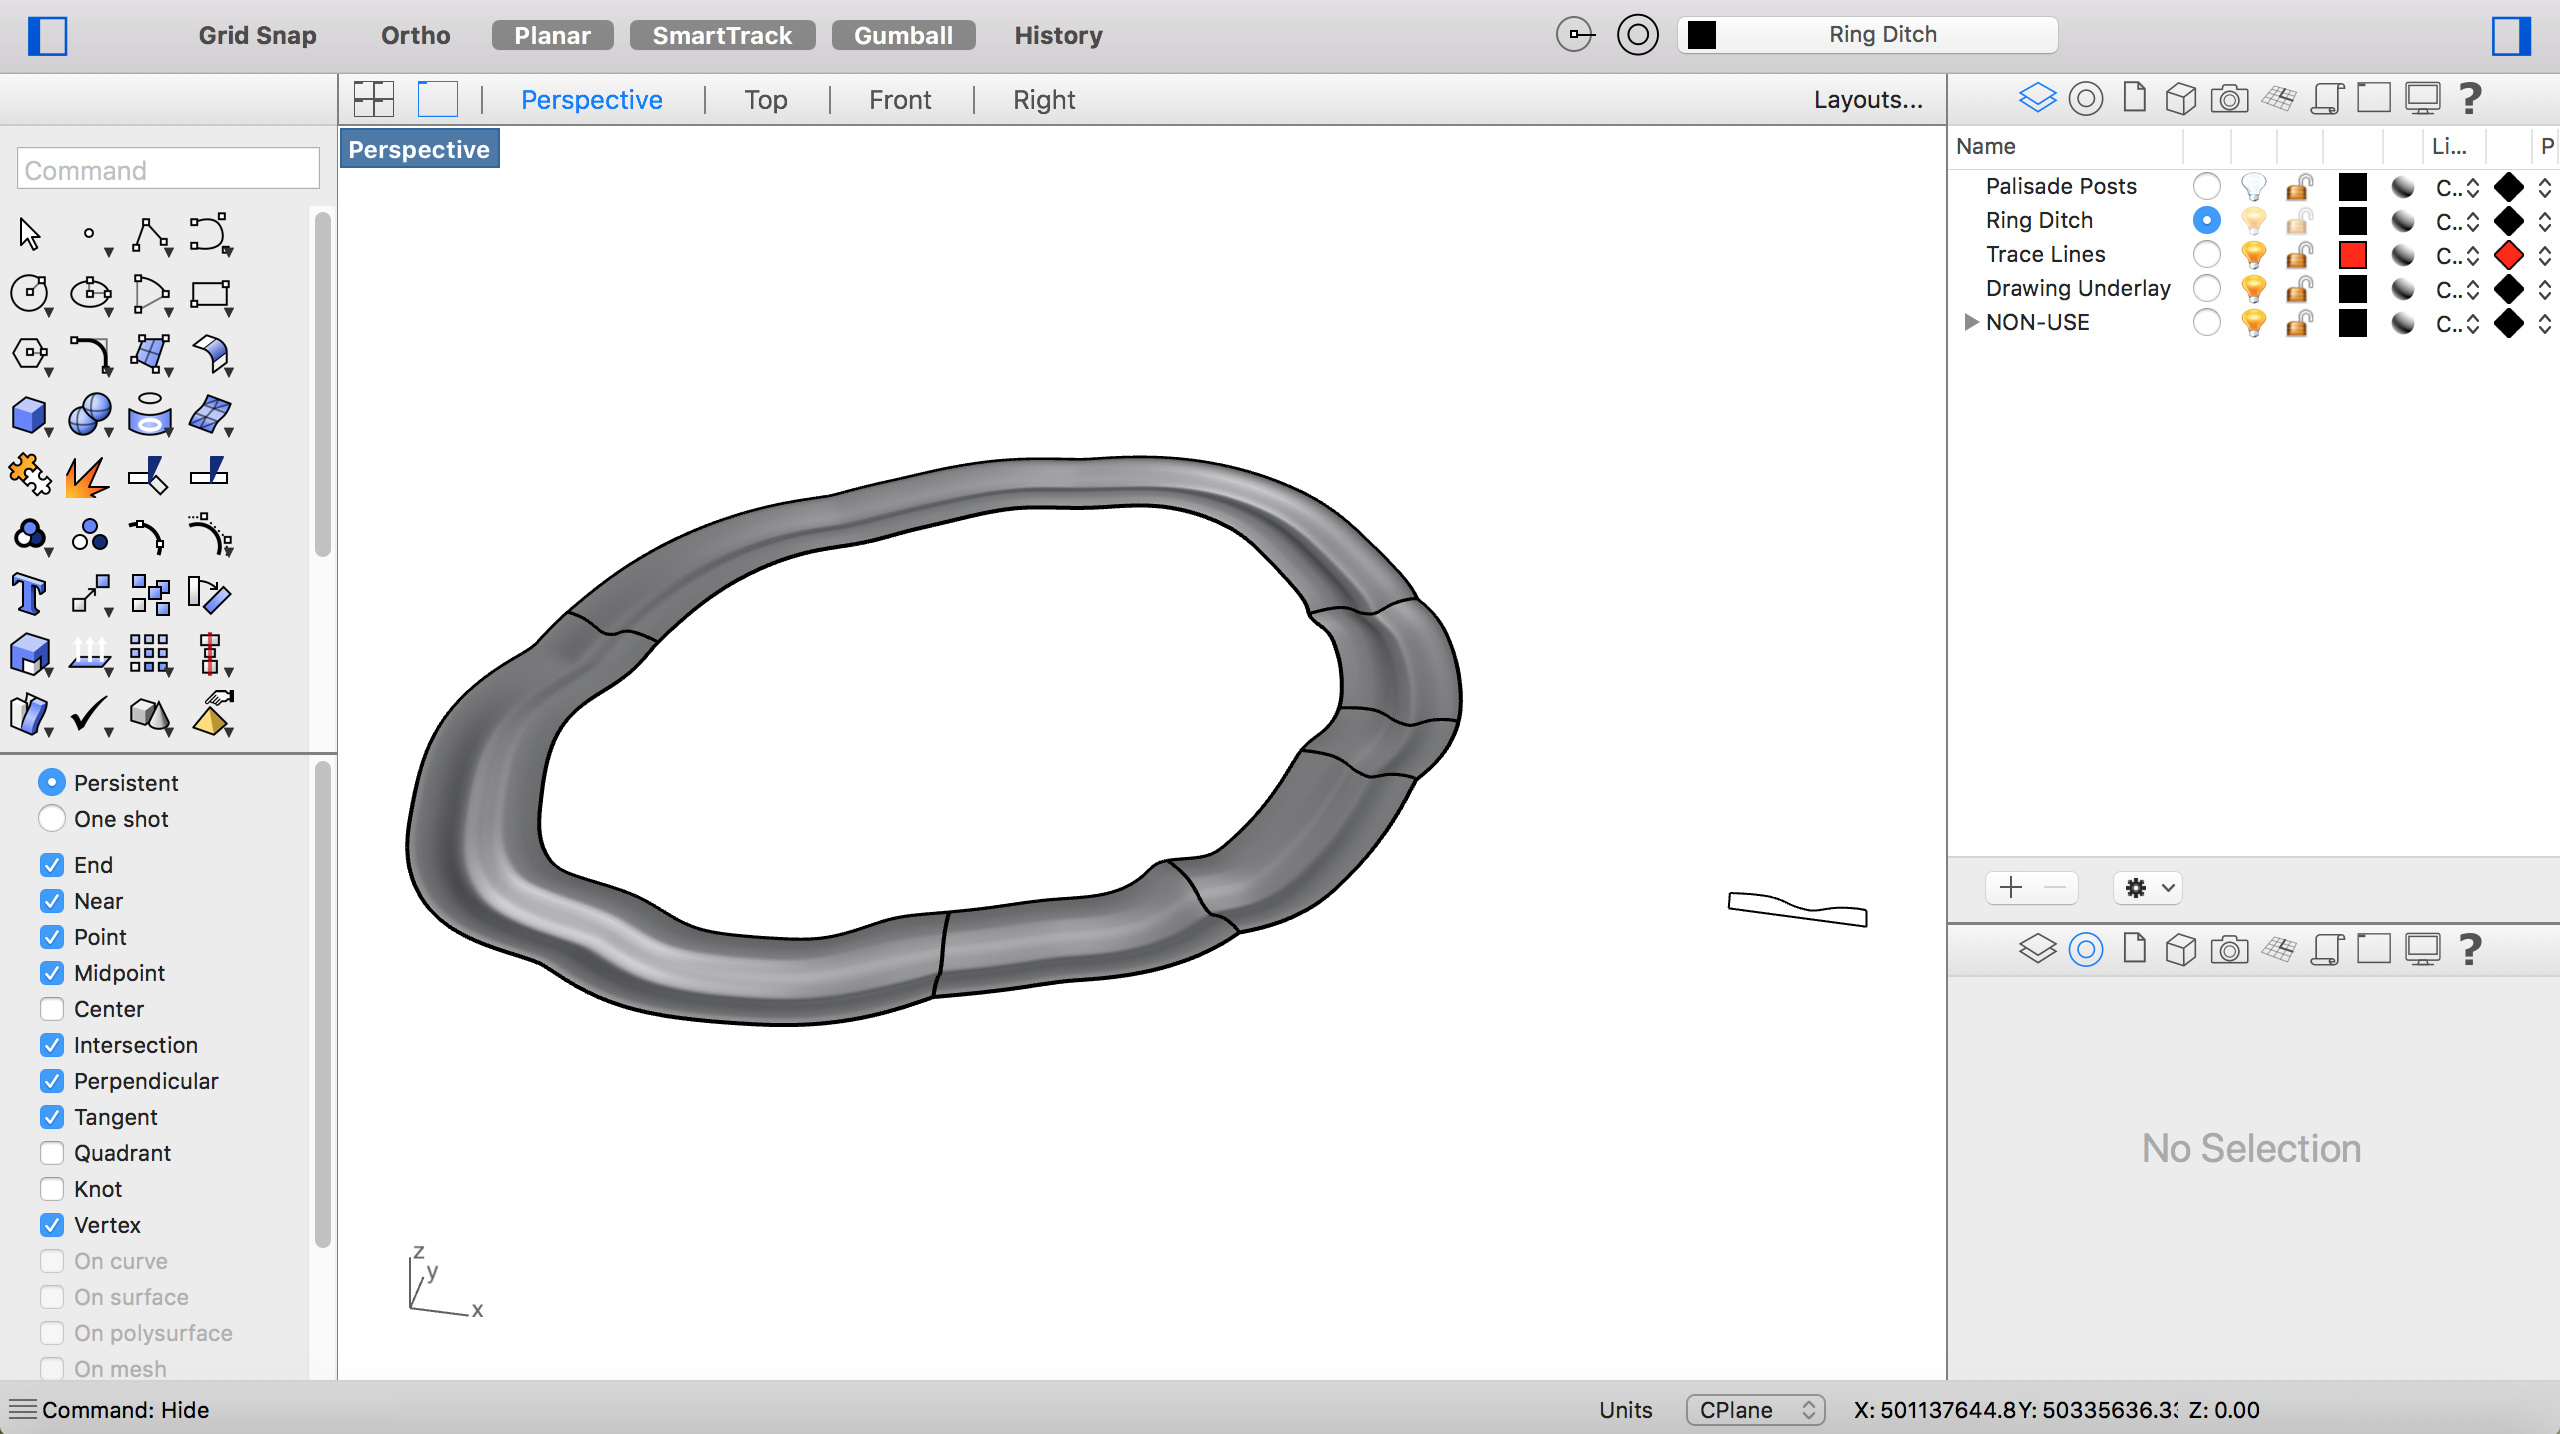
Figure 15: Ditch surface between the two plan curves, based on section curve, in Rhino.

Figure 16: Inner fill in the middle of the ring ditch, in Rhino.
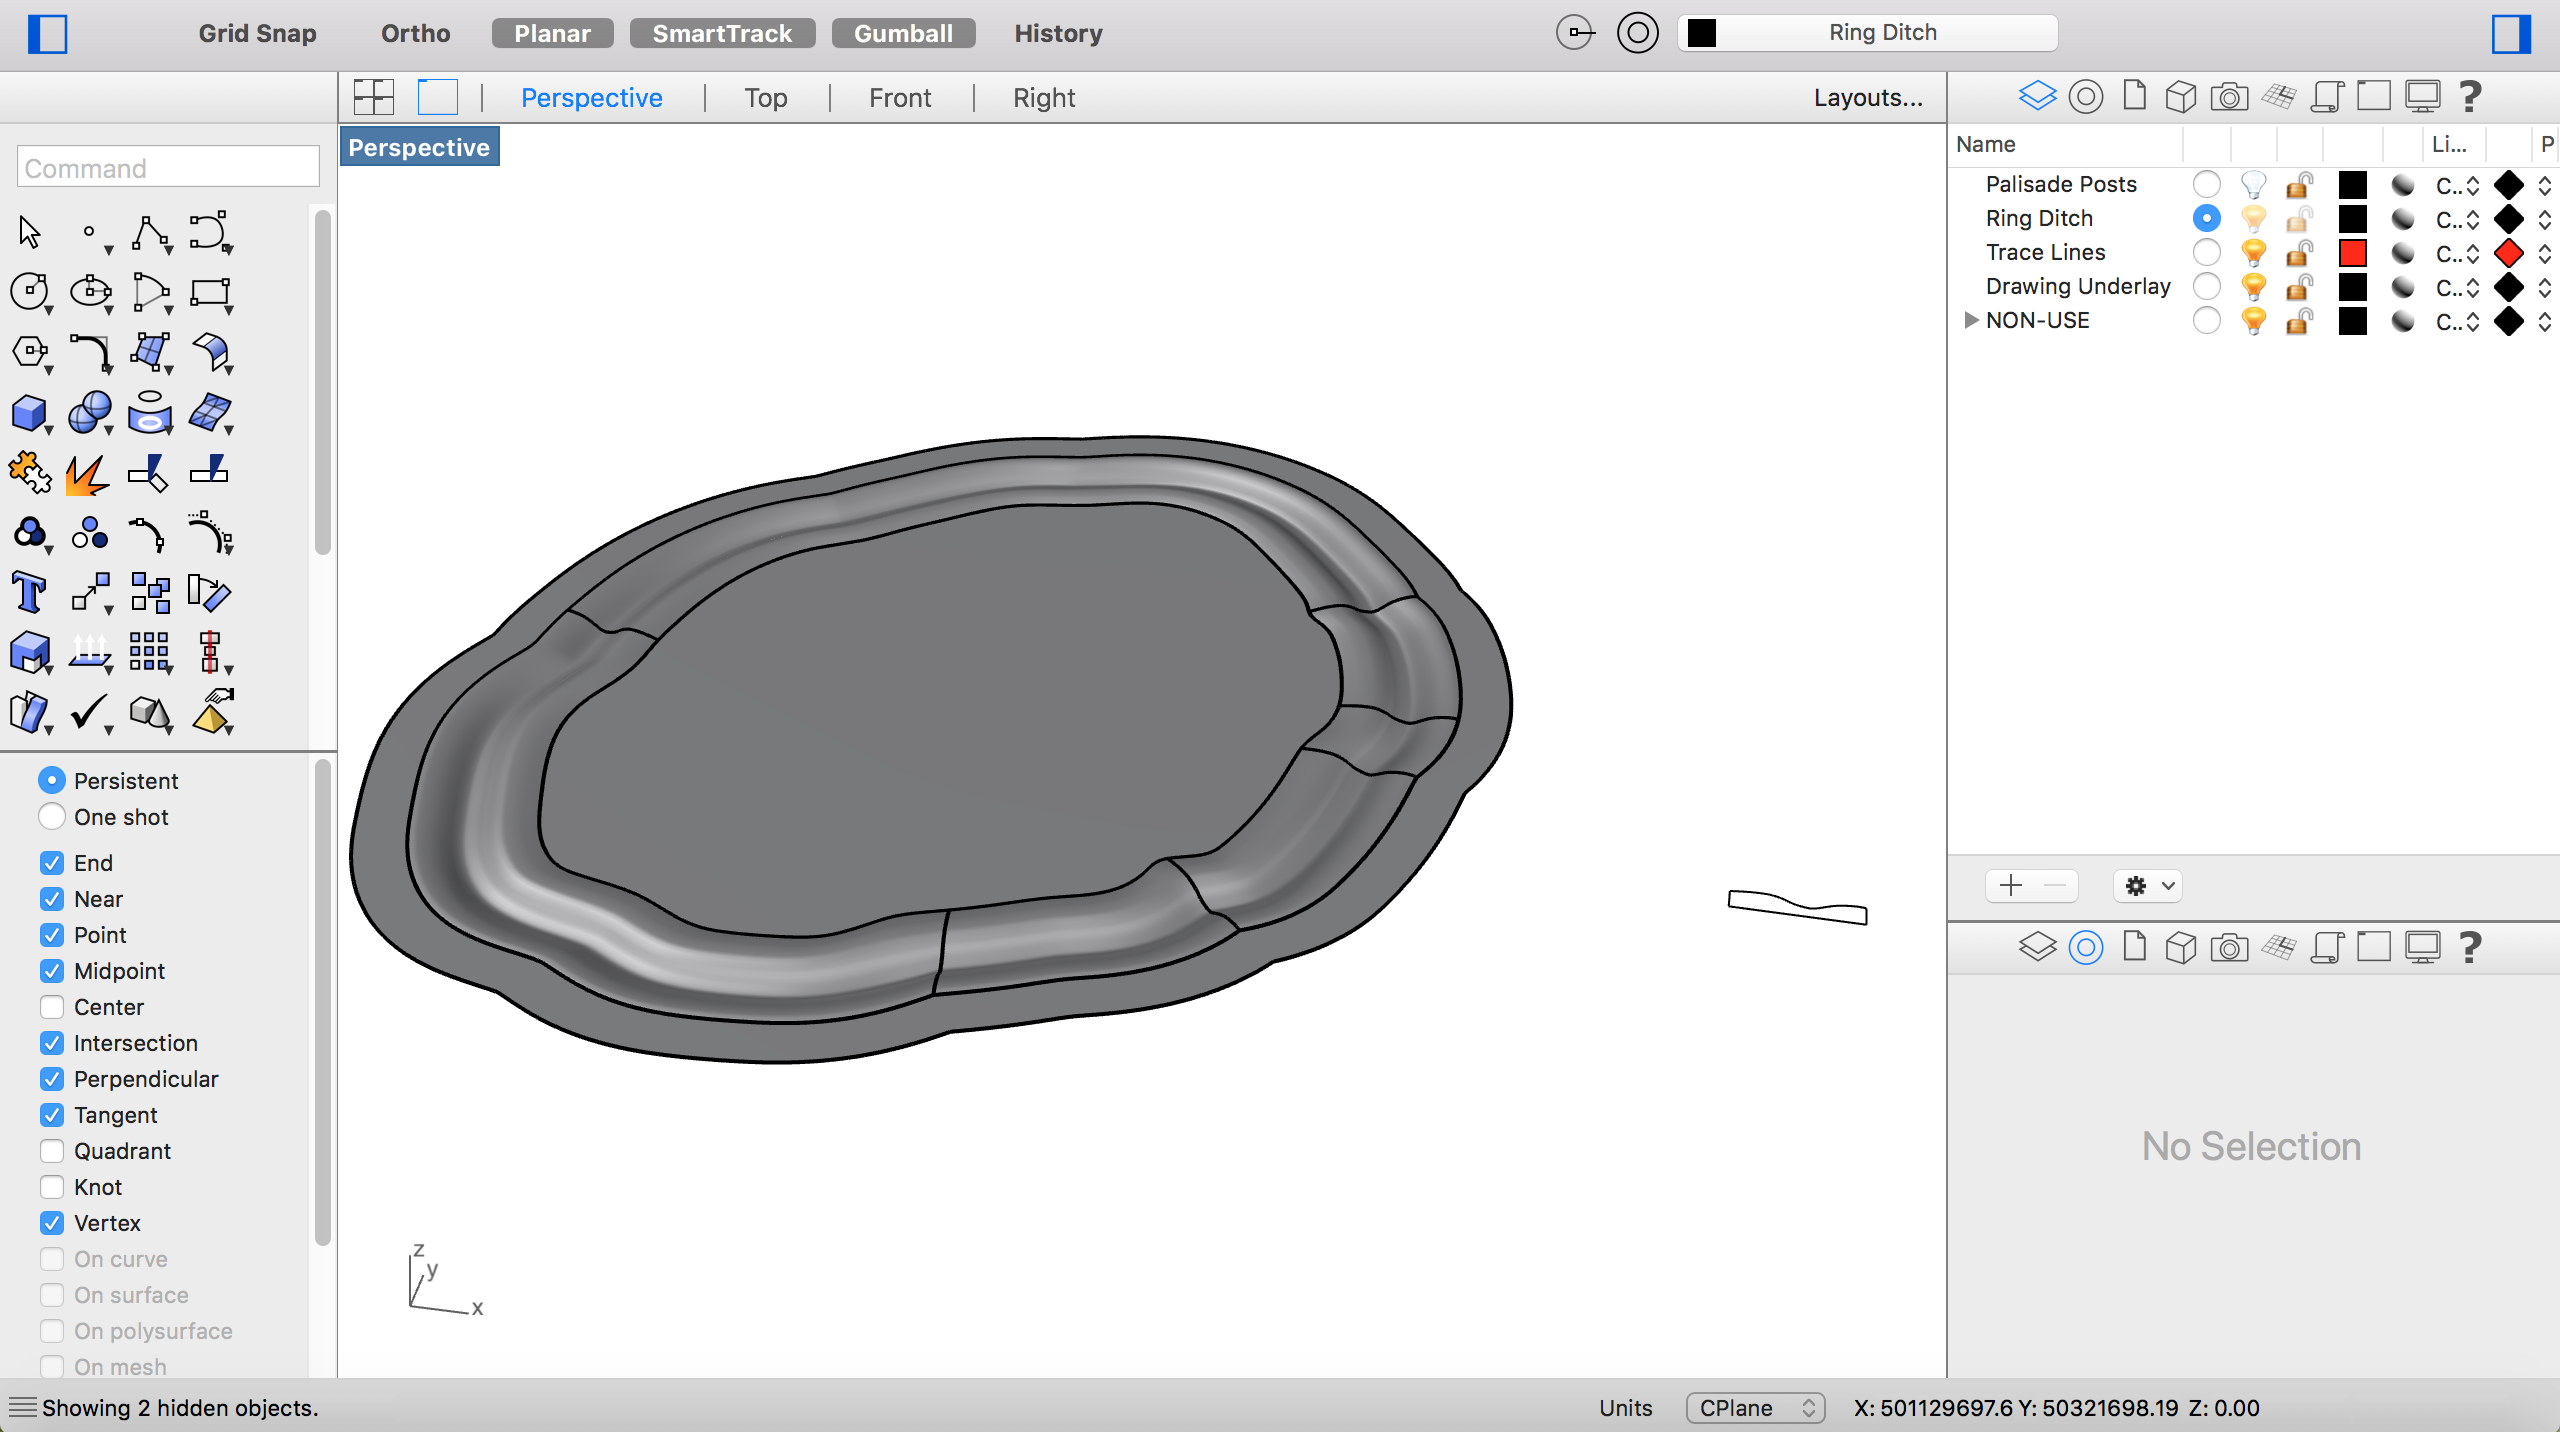
Figure 17: Outer fill to allow a more seamless integration into the existing landscape, in Rhino.
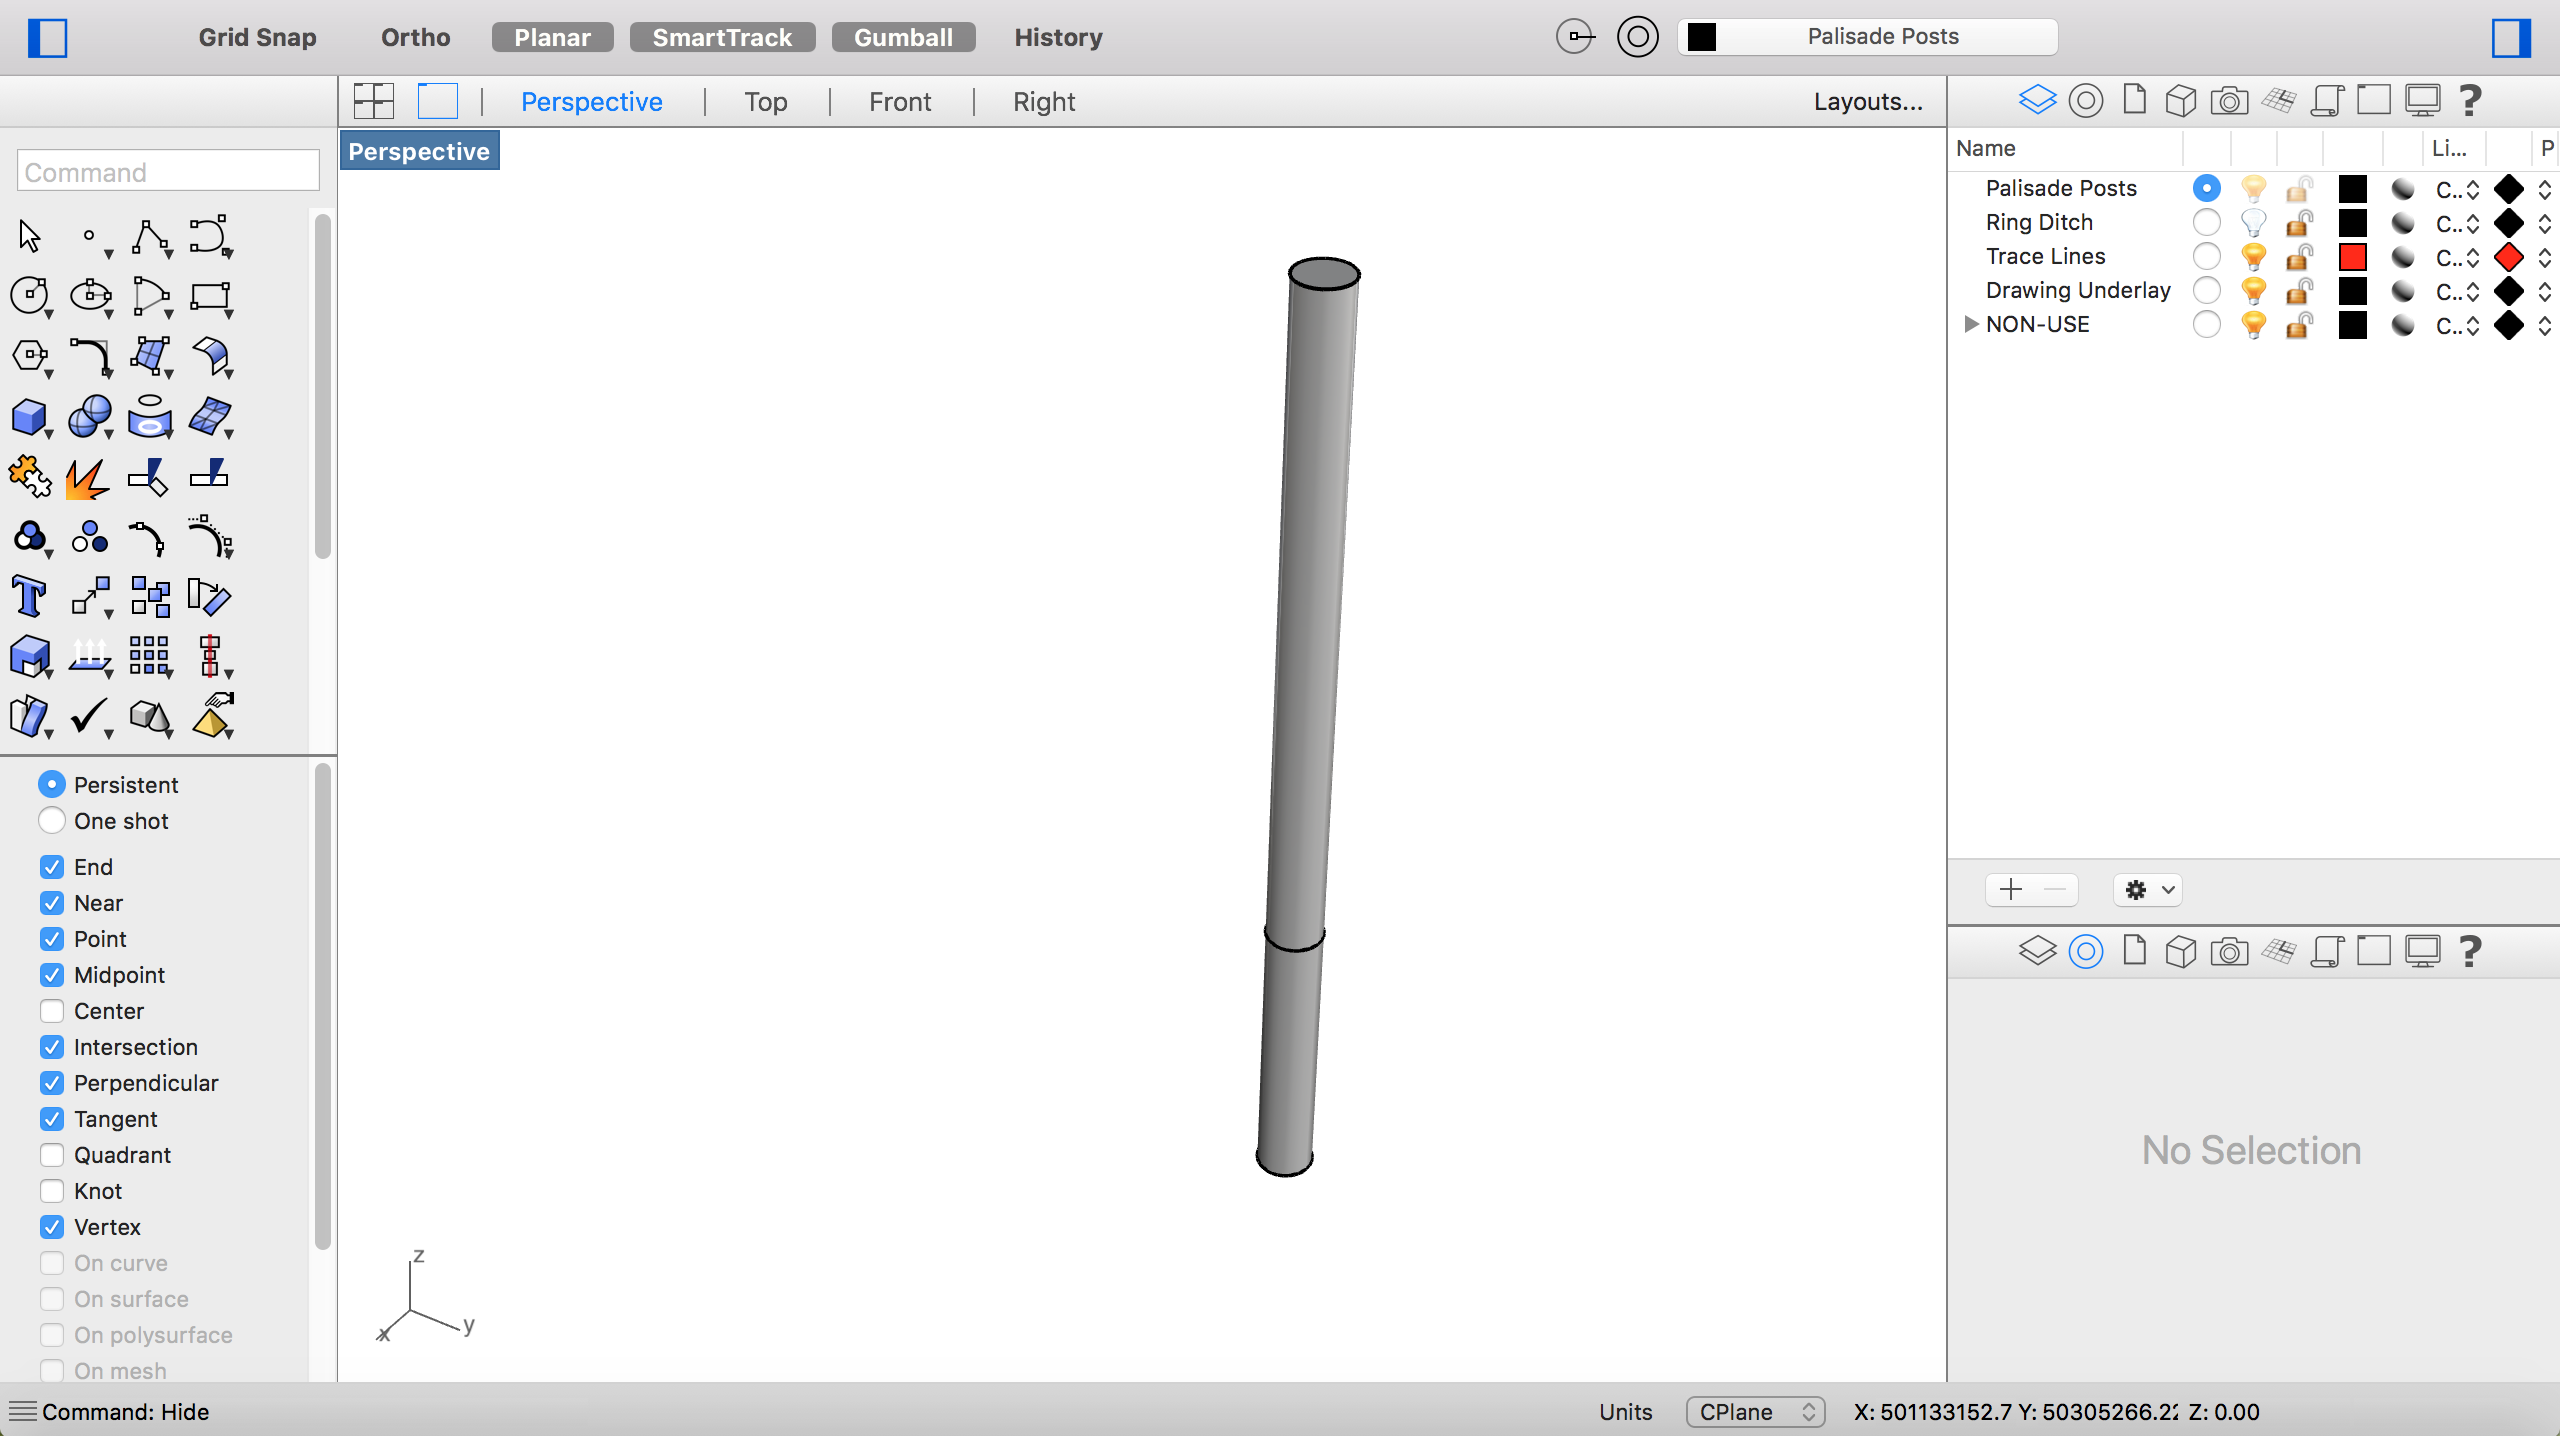
Figure 18: Standard palisade wall post with rough ground line marked, in Rhino.
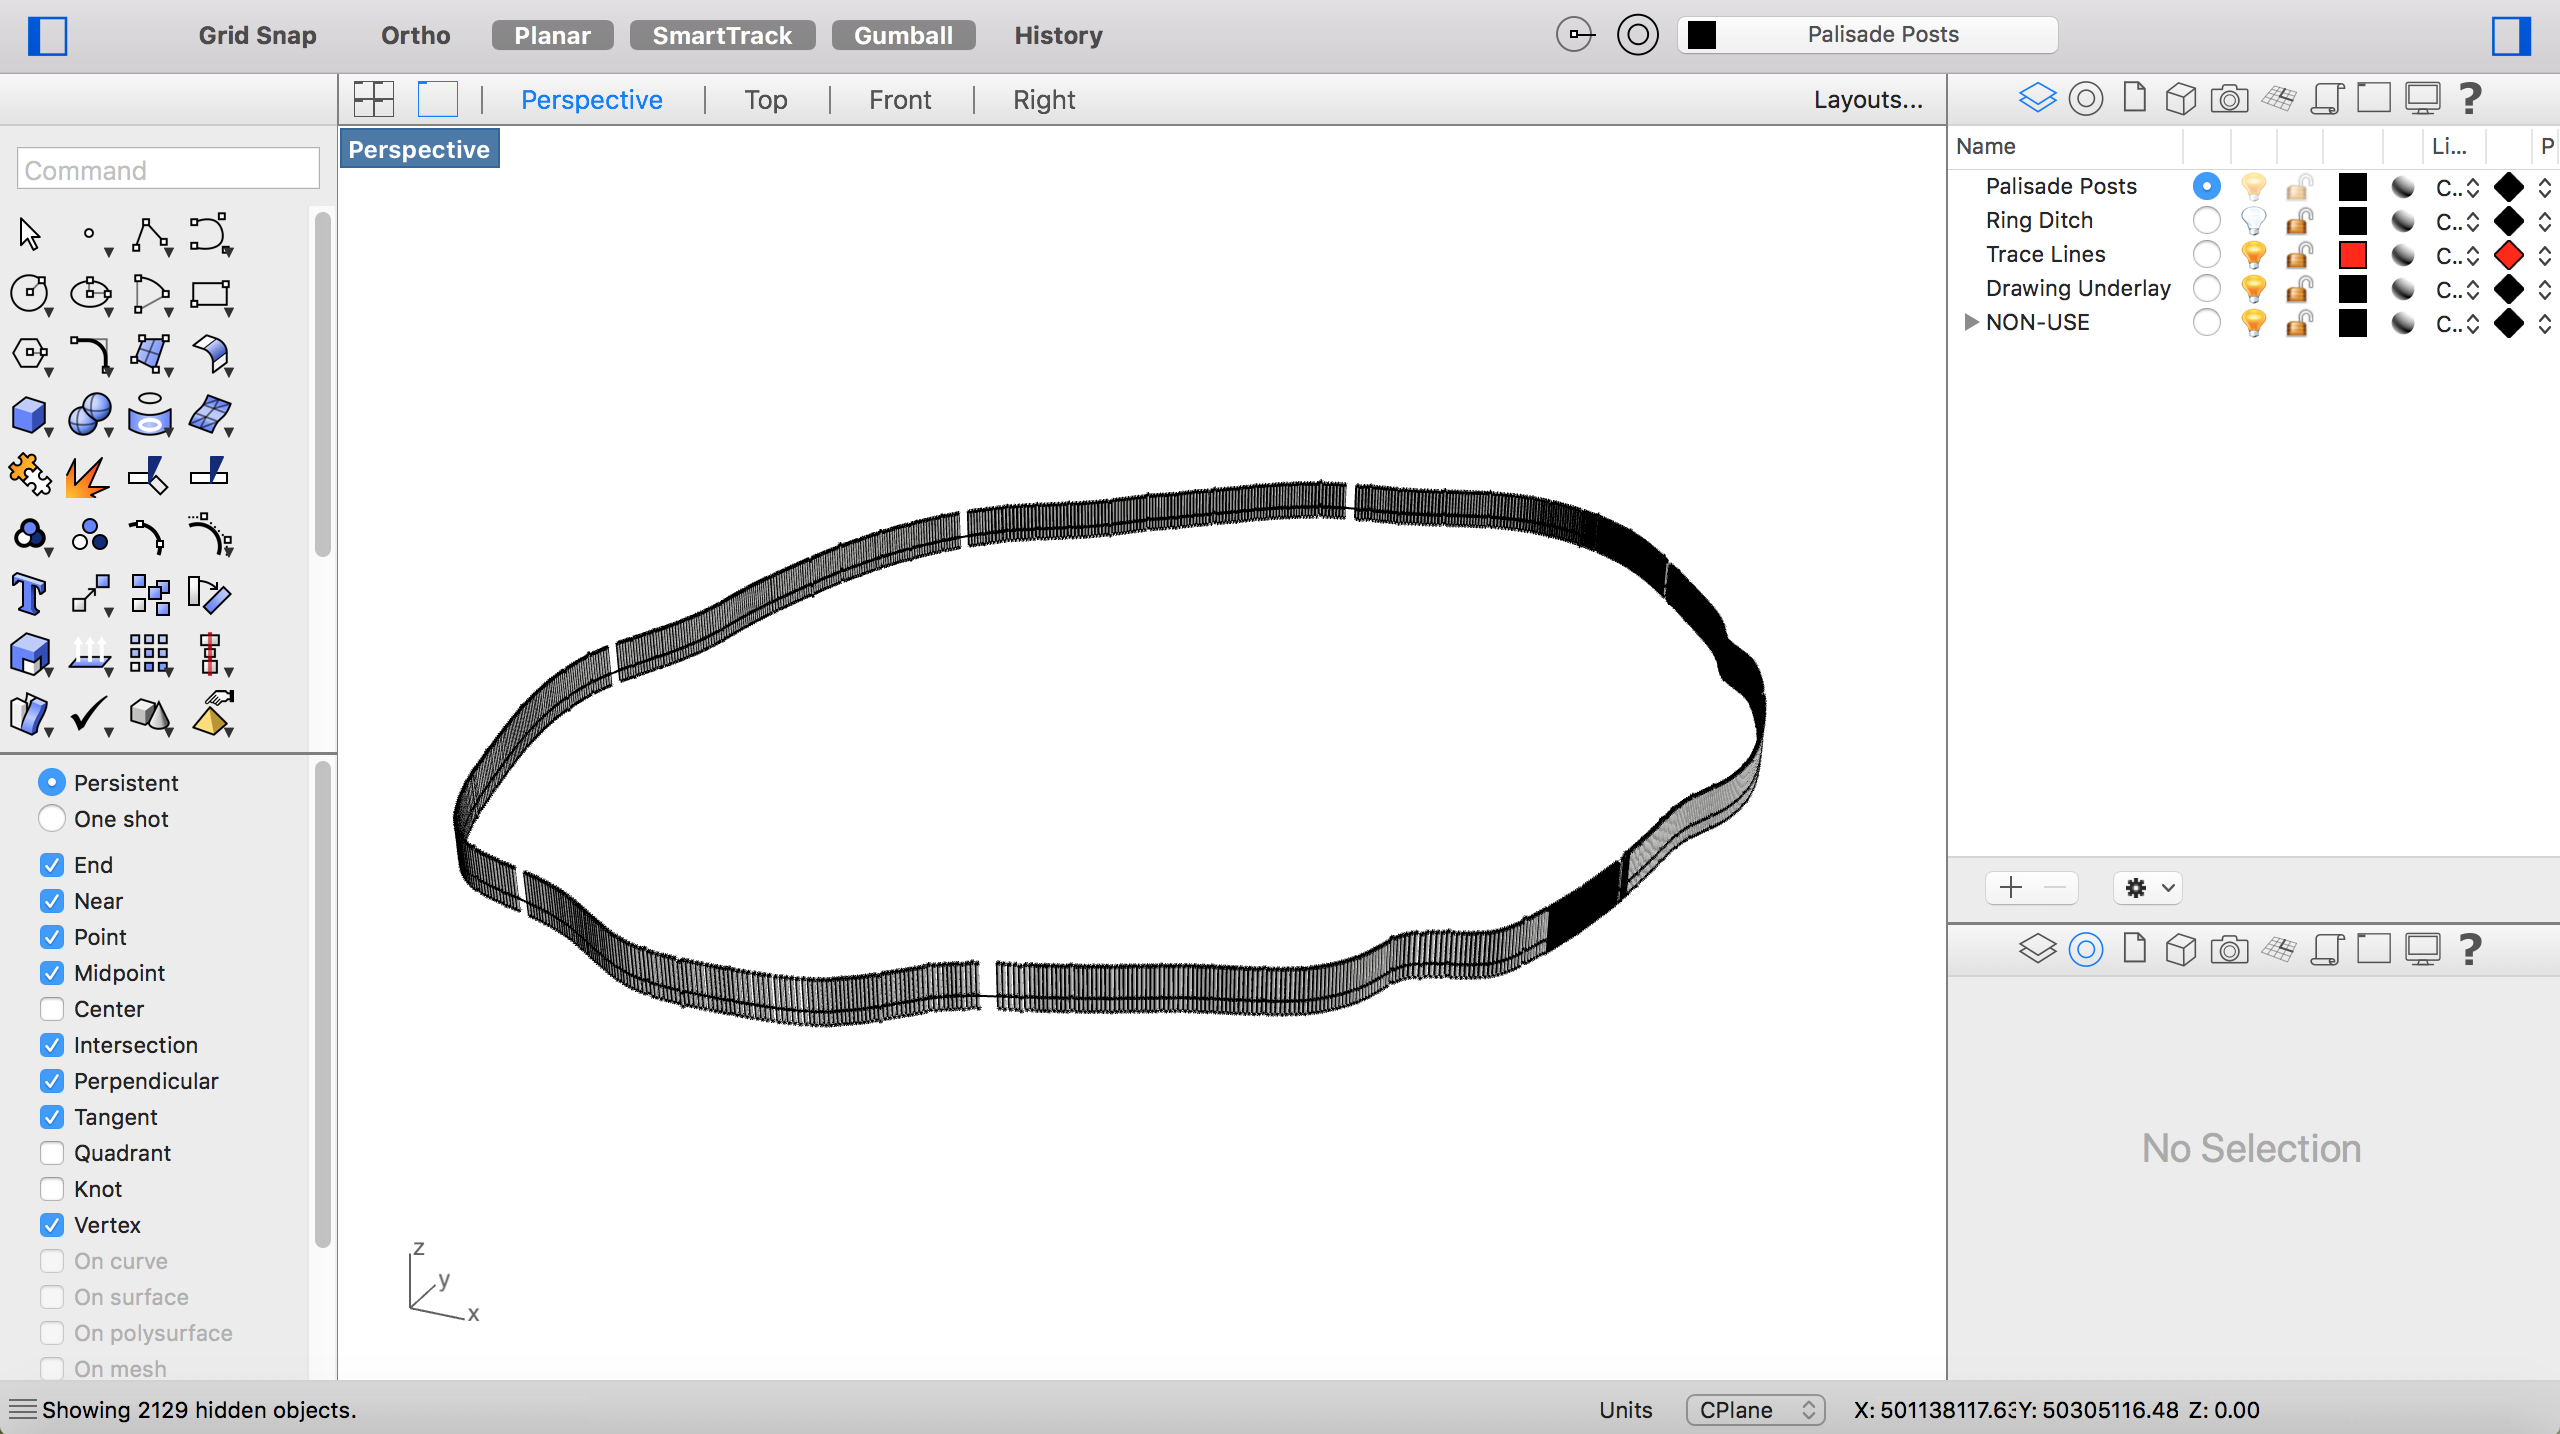
Figure 19: Palisade wall with posts at varying heights and gaps for passage, in Rhino.
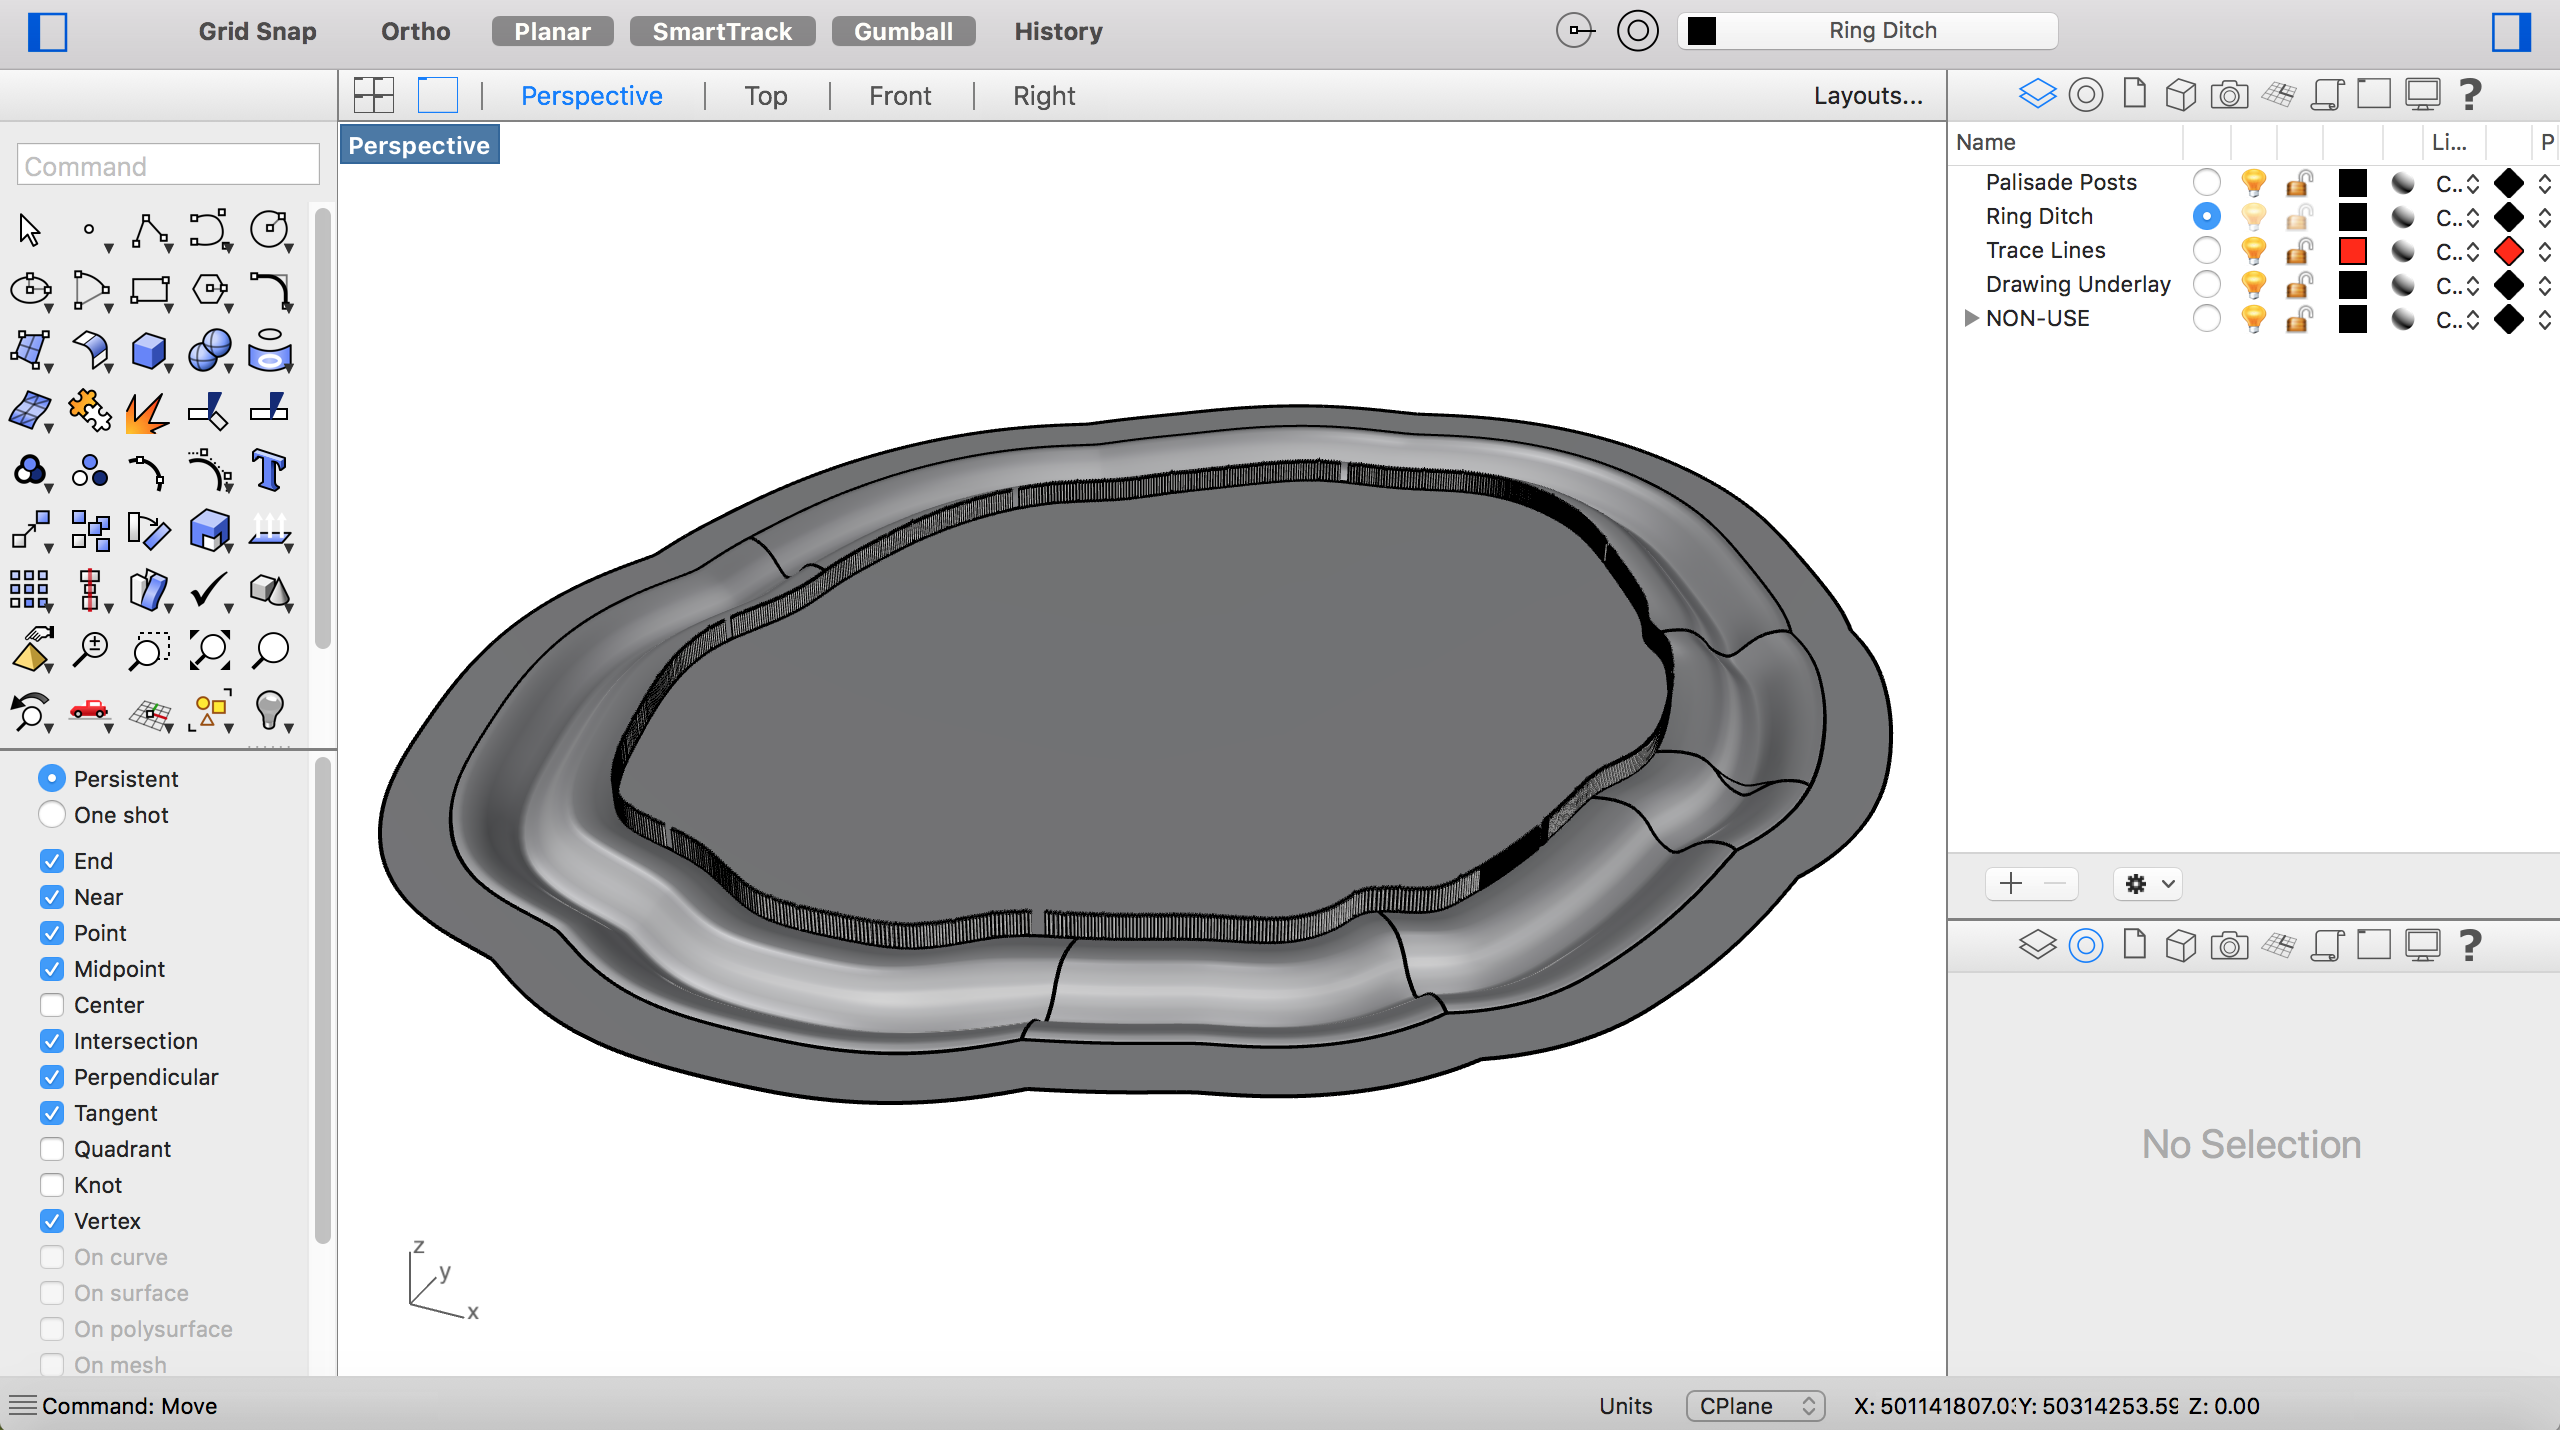
Figure 20: Final Rhino model.
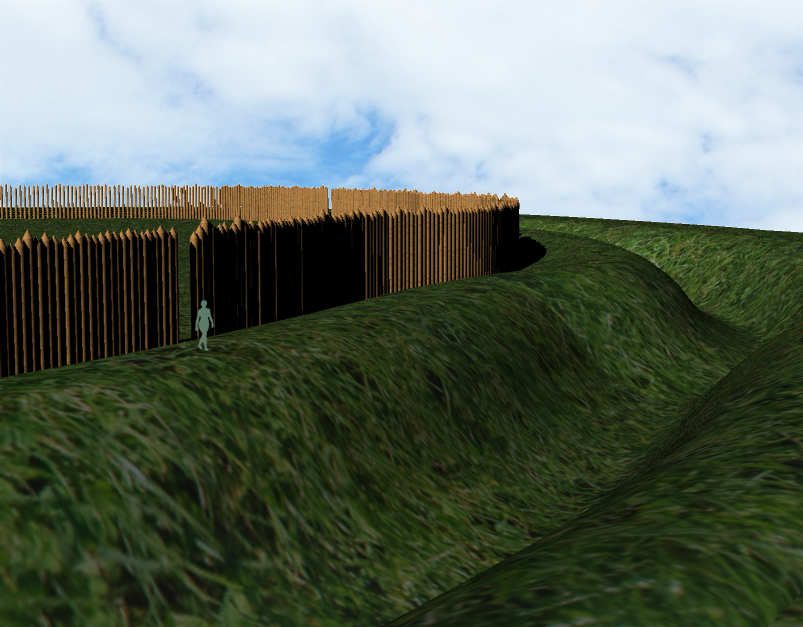
Figure 21: Final Rhino model.

Figure 22: Final Rhino model.
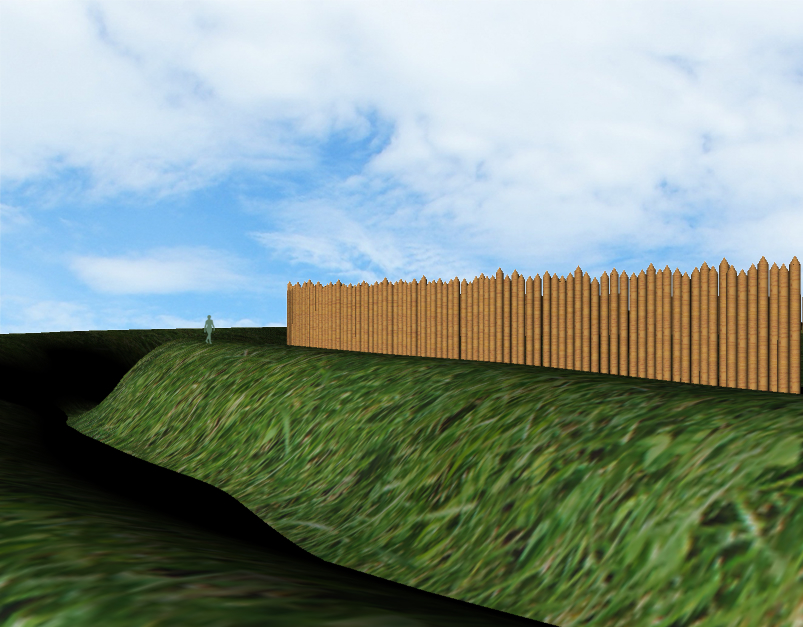
Figure 23: Final Rhino model.
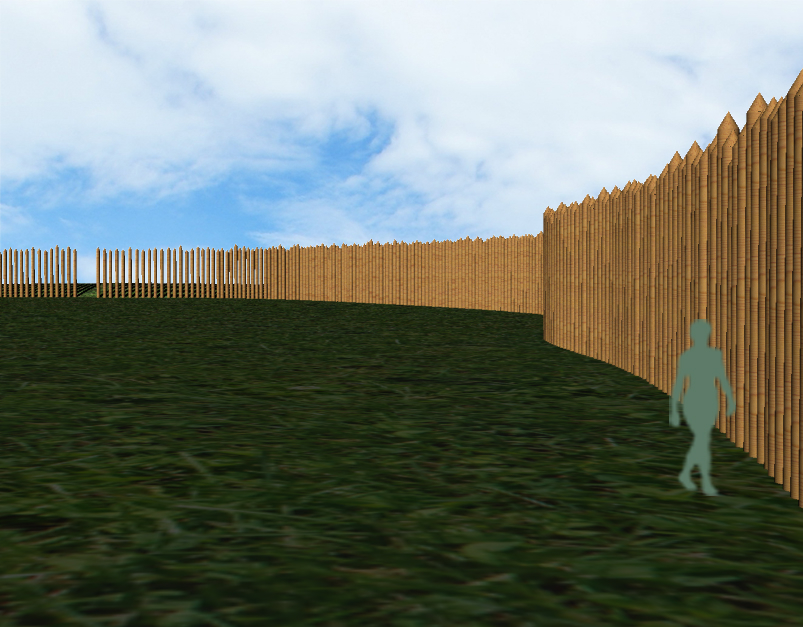
Figure 24: Final Rhino model.
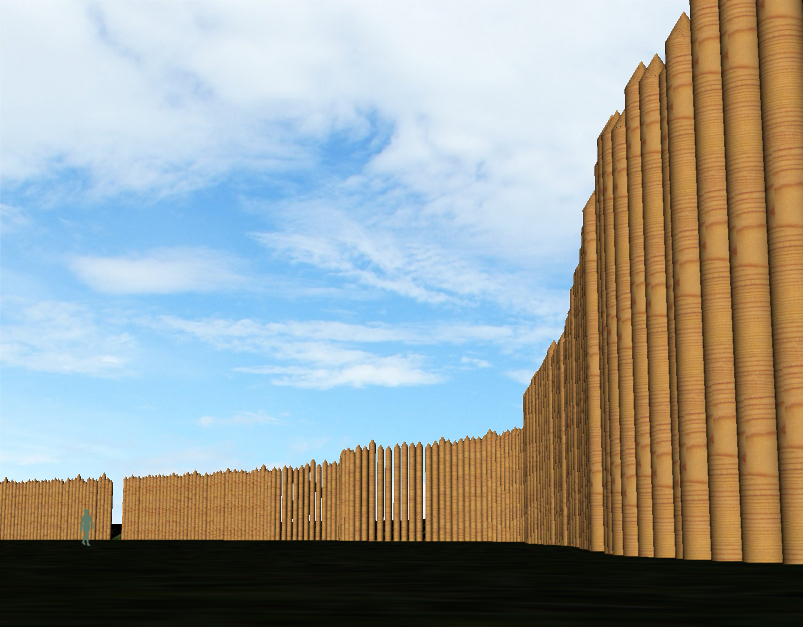
Figure 25: Final Rhino model.

Figure 26: Final Rhino model.
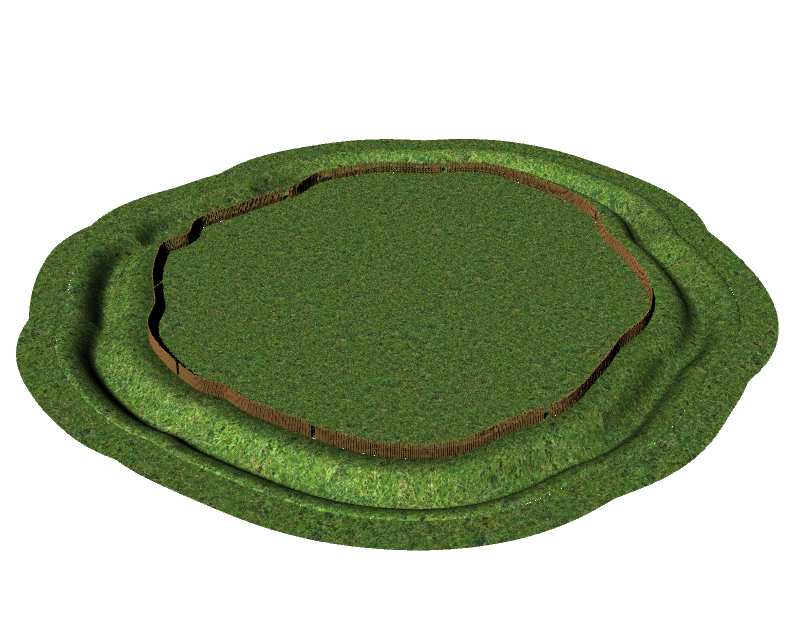
Figure 27: Final Rhino model.
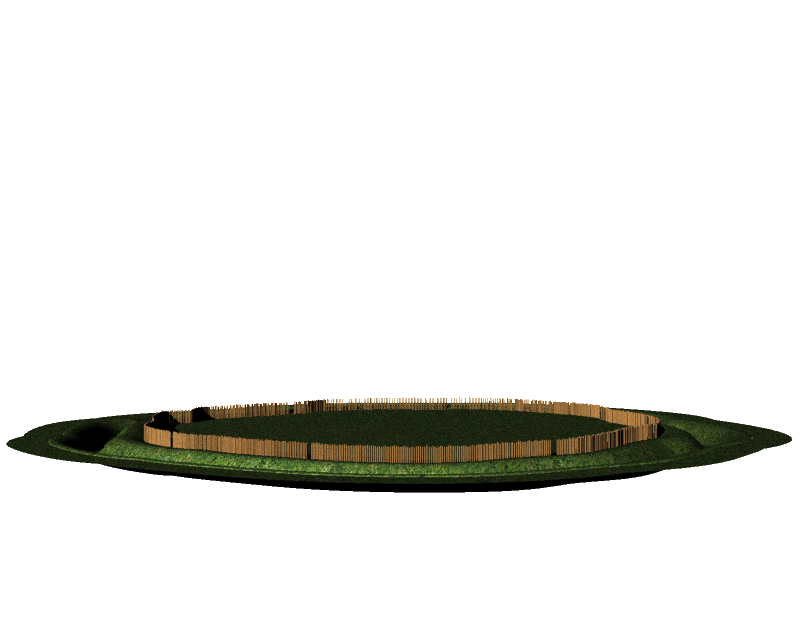
Figure 28: Final Rhino model.